Finishing a coffee table involves thorough preparation, applying a suitable finish, and proper curing to achieve lasting beauty and protection.
If you’ve ever admired a beautifully finished coffee table, you know the magic is in the details, and trust me, it’s a craft anyone can master with the right guidance. As someone who's spent countless hours in workshops transforming raw wood into polished masterpieces, I can tell you that understanding how to finish a coffee table is more than just applying a coat of paint; it's about creating a piece that will stand the test of time, look stunning, and become a true centerpiece in your home. This comprehensive guide will walk you through every step, ensuring your DIY project turns out professional and durable, revealing all the secrets of how to finish a coffee table effectively.
Understanding Coffee Table Finishing: Why It Matters
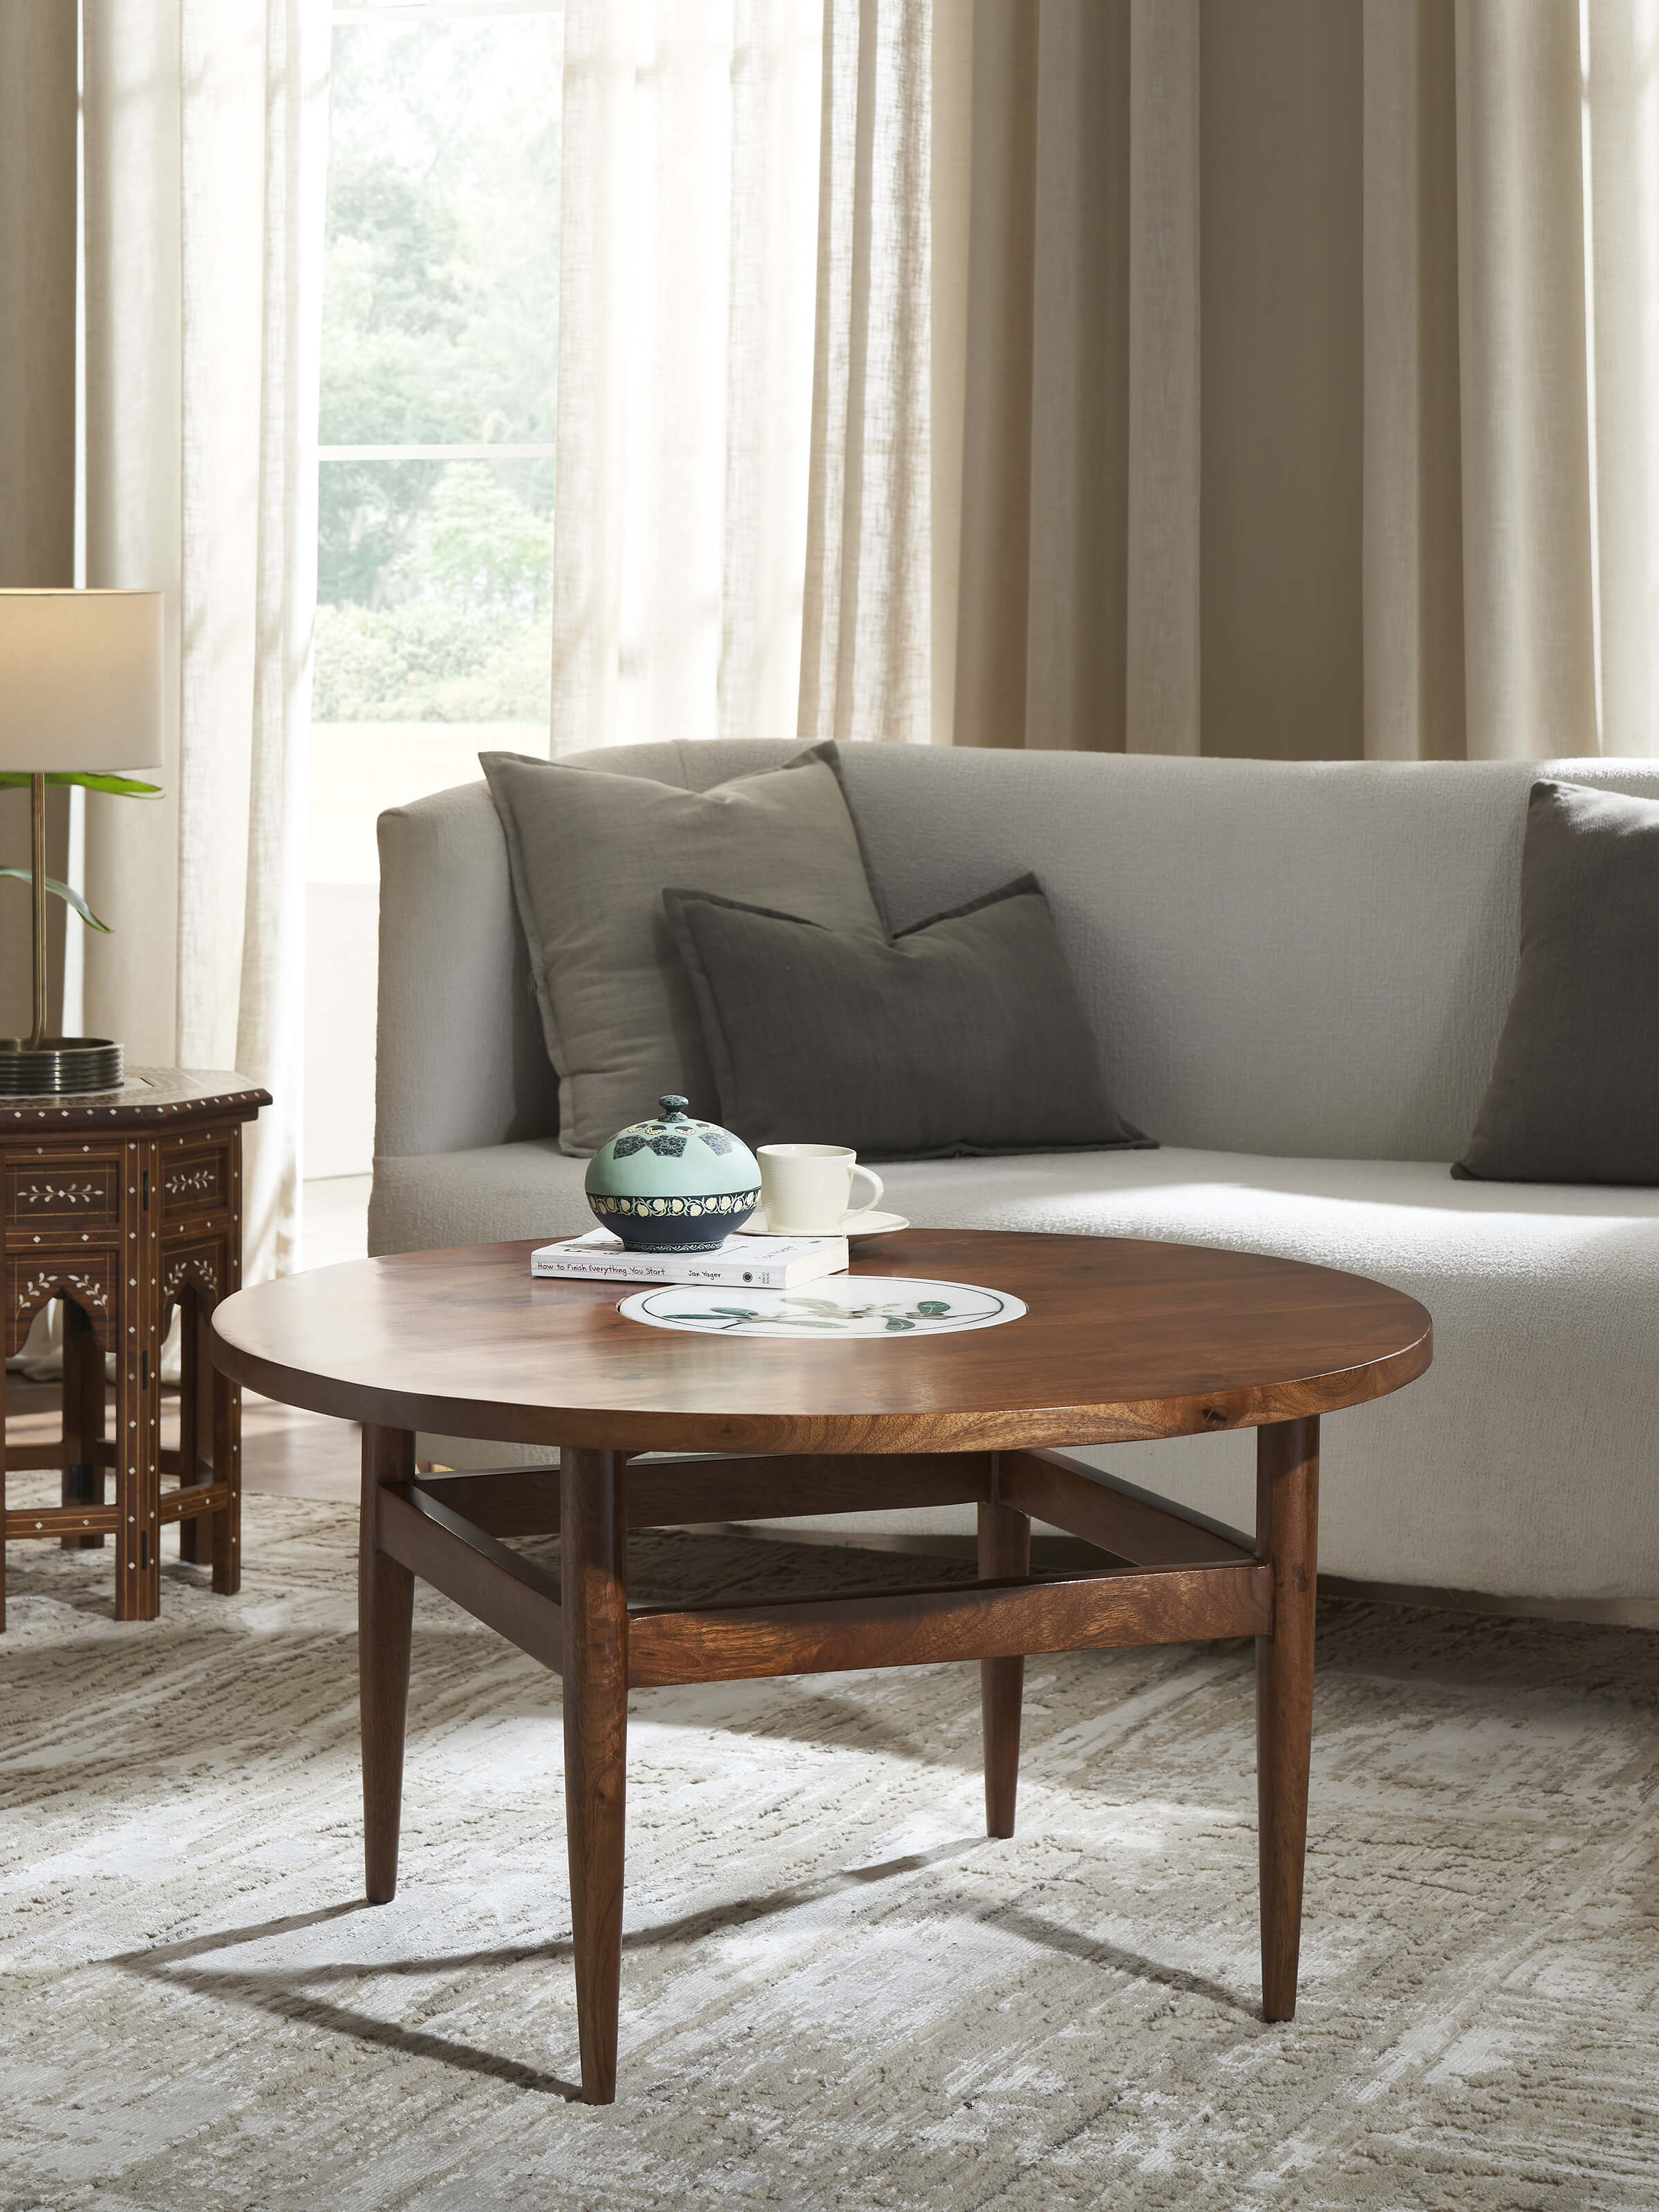
Finishing a coffee table is a crucial step that transforms a simple piece of wood into a functional work of art. It’s not just about aesthetics; it’s about protecting your investment and enhancing its longevity. When we talk about how to finish a coffee table, we're discussing a process that adds character, depth, and resilience.
What is "Finishing" a Coffee Table?
Finishing a coffee table refers to the process of applying a protective and decorative coating to its surface. This can involve sanding, staining, painting, and then sealing with a clear topcoat like polyurethane, lacquer, or wax. The goal is to highlight the wood’s natural beauty or completely change its look, all while providing a durable barrier against spills, scratches, and daily wear. From my own experience, a well-executed finish can completely revitalize an old, tired piece.
Benefits of a Proper Finish
The benefits of knowing how to finish a coffee table properly are numerous. First, it protects the wood from moisture, preventing warping and stains. Second, it makes the surface easier to clean, which is essential for a frequently used item like a coffee table. Third, it enhances the table's appearance, bringing out the wood grain or providing a fresh new color. Finally, a good finish significantly extends the lifespan of your furniture, turning it into a cherished heirloom rather than a disposable item. It truly makes a difference.
Choosing the Right Finish
Selecting the right finish depends on your desired look, the type of wood, and the table's intended use. Stains penetrate the wood to add color while allowing the grain to show through, perfect if you love natural wood. Paints offer opaque color for a complete transformation. For protection, polyurethane is popular for its durability, while lacquer provides a smooth, hard finish. Wax or oil finishes offer a more natural look and feel but require more frequent reapplication. Considering how to finish a coffee table, this choice is pivotal. I often recommend water-based poly for beginners due to its easy cleanup and low odor.

Essential Tools and Materials for Finishing Your Coffee Table
Before you dive into the project, gathering all your tools and materials is key. This organized approach helps ensure a smooth and efficient process when you're learning how to finish a coffee table. Having everything at hand prevents interruptions and keeps your workflow consistent.
Preparation Materials
You'll need various sandpaper grits, from coarse (like 80 or 100) for initial shaping or old finish removal, to fine (220 or 320) for a silky-smooth surface. A sanding block or an orbital sander will save you a lot of effort. Wood filler is essential for minor imperfections, and a tack cloth or shop vacuum will help remove sanding dust. Good preparation is often the most time-consuming but most rewarding part of knowing how to finish a coffee table.
Finishing Materials
Depending on your chosen aesthetic, you’ll need wood stain or paint. For topcoats, consider polyurethane (water-based or oil-based), lacquer, shellac, or even furniture wax. Applicators like brushes, foam rollers, or lint-free cloths are necessary. Always choose high-quality brushes for a smooth, streak-free application, especially when learning how to finish a coffee table with a clear coat.
Safety Gear
Safety should always be a priority. Wear a respirator mask to protect your lungs from dust and fumes, especially with oil-based products. Safety glasses will shield your eyes from debris. Gloves are also crucial for protecting your skin from stains, paints, and chemicals. Adequate ventilation in your workspace is non-negotiable for air quality and drying. I learned this the hard way after a few too many dust-filled sanding sessions!
Step-by-Step Guide: How to Finish a Coffee Table Like a Pro
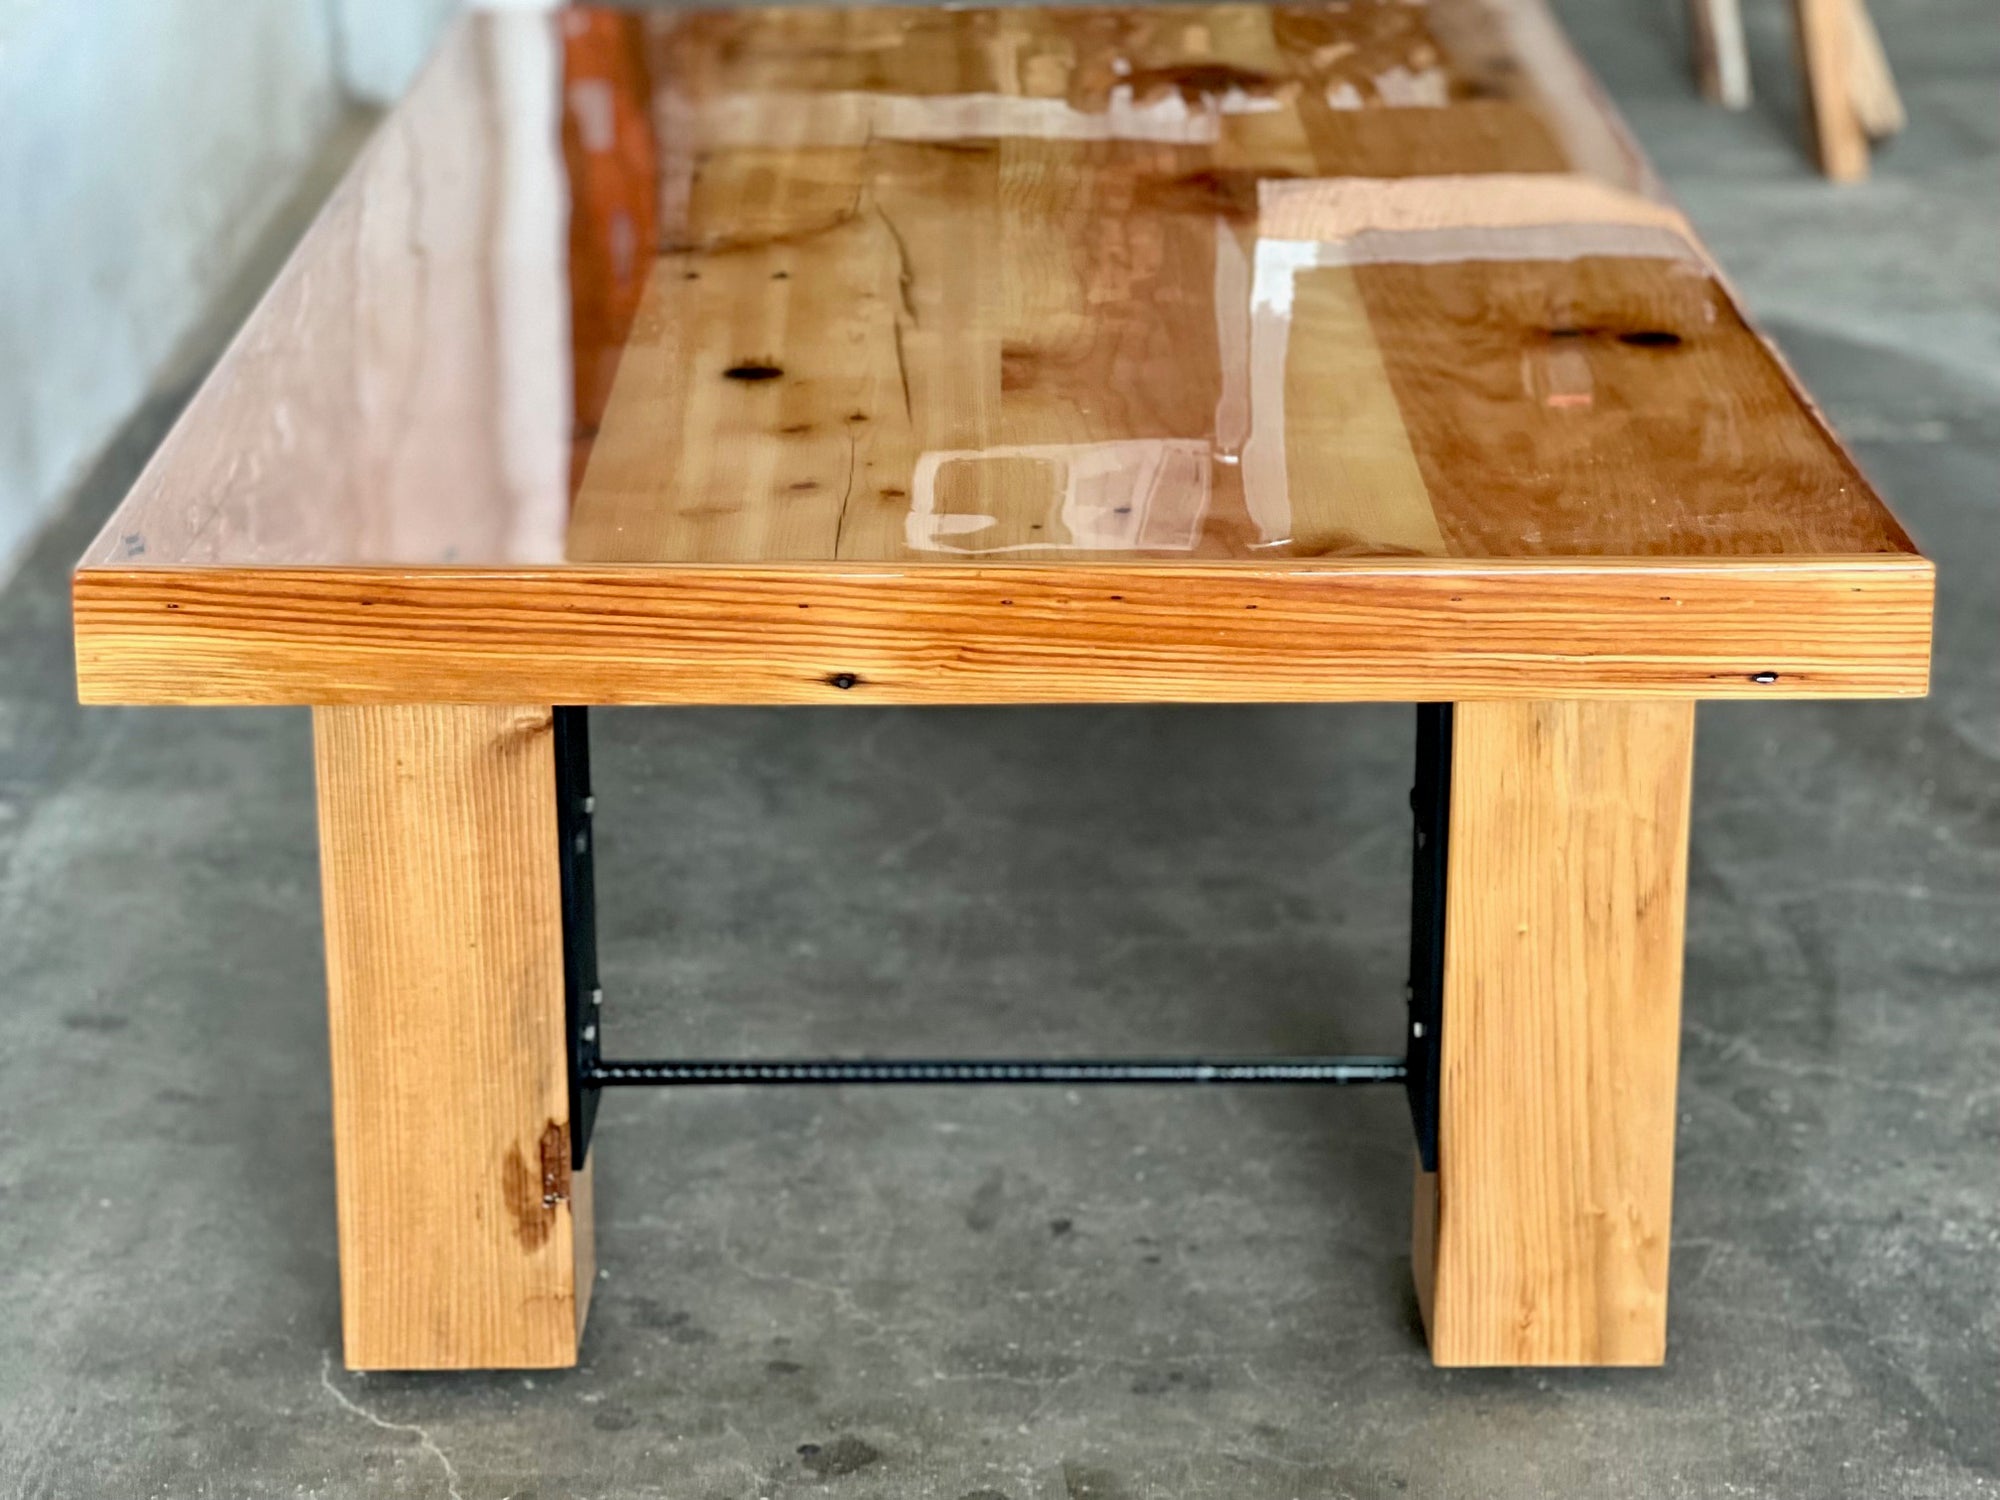
Now for the exciting part! This step-by-step process will guide you through how to finish a coffee table, ensuring a result you'll be proud of. Remember, patience and attention to detail are your best friends here.
Step 1: Surface Preparation is Key
Start by thoroughly cleaning your coffee table. Remove any existing hardware, then use a degreaser if there's any oil or grime. For previously finished tables, strip or sand off the old finish completely. If the table is new or raw wood, begin sanding with a medium-grit sandpaper (e.g., 120-150 grit) to smooth the surface and remove any milling marks. Progress to finer grits (180, then 220-320) until the wood feels incredibly smooth to the touch. Sanding with the grain is crucial to avoid unsightly scratches. After each sanding stage, meticulously wipe away all dust with a tack cloth. This meticulous preparation is foundational to how to finish a coffee table beautifully.
Step 2: Staining or Painting
If you’re staining, apply your chosen wood stain evenly with a brush or cloth, following the wood grain. Allow it to penetrate for the recommended time, then wipe off any excess. Always test the stain on an inconspicuous area first to ensure you like the color. For painting, apply a primer coat first, which helps with adhesion and an even color. Once dry, apply thin, even coats of paint, allowing ample drying time between each coat. Multiple thin coats always look better and are more durable than one thick coat. This stage truly defines the look of your finished coffee table.
Step 3: Applying a Protective Topcoat
Once your stain or paint is completely dry, it's time for the protective topcoat. This is a critical step in how to finish a coffee table to last. Apply your first coat of polyurethane, lacquer, or desired sealant in a thin, even layer. Avoid applying too much, as this can lead to drips and unevenness. After the first coat dries according to the manufacturer's instructions (usually several hours), lightly sand the entire surface with a very fine grit sandpaper (e.g., 320-400 grit). This "denibbing" step removes any dust nibs or raised grain, promoting better adhesion for subsequent coats. Wipe clean with a tack cloth, then apply a second coat. Repeat this process for 2-4 coats, sanding lightly between each.
Step 4: Curing and Final Touches
The final coat will need proper time to cure, which is different from just being dry to the touch. While it might feel dry in a few hours, the finish needs several days, sometimes even weeks, to reach its full hardness and durability. During this curing period, treat your coffee table gently. Avoid placing heavy objects or allowing spills. Once fully cured, you can reattach any hardware and admire your beautifully finished coffee table. A truly well-finished coffee table is a testament to patience.
Common Mistakes to Avoid When Finishing a Coffee Table
Even with the best intentions, it's easy to make a few missteps when learning how to finish a coffee table. Avoiding these common pitfalls will save you time, frustration, and ultimately lead to a superior result. I’ve made my share of mistakes, so learn from mine!
Poor Sanding
One of the biggest mistakes is inadequate sanding. Rushing this step or skipping grits can leave scratches that become glaringly obvious once the finish is applied. Failing to sand with the grain is another common error. The finish will highlight every flaw. Proper sanding creates the foundation for how to finish a coffee table flawlessly.
Rushing Drying Times
Impatience often leads to problems. Applying a new coat of stain or finish before the previous one is fully dry can result in an uneven finish, stickiness, or bubbling. Always adhere to the manufacturer's recommended drying times, even if it means waiting overnight. This is especially true for the initial stain layer; rushing here can ruin the entire project.
Ignoring Environmental Factors
Temperature and humidity play a huge role in how finishes cure. Applying finishes in very cold, hot, humid, or dusty conditions can lead to issues like slow drying, blushing (a cloudy appearance), or dust specs embedding in the finish. Always aim for a moderate, well-ventilated, and clean environment for best results. This detail is often overlooked when people think about how to finish a coffee table.
Over-applying Finish
While it might seem like more is better for protection, applying thick coats of finish can lead to drips, runs, and a prolonged drying process. It also makes the finish more prone to cracking. Thin, even coats are always superior, building up protection gradually. Resist the urge to go heavy on your finish layers; less is truly more when learning how to finish a coffee table.
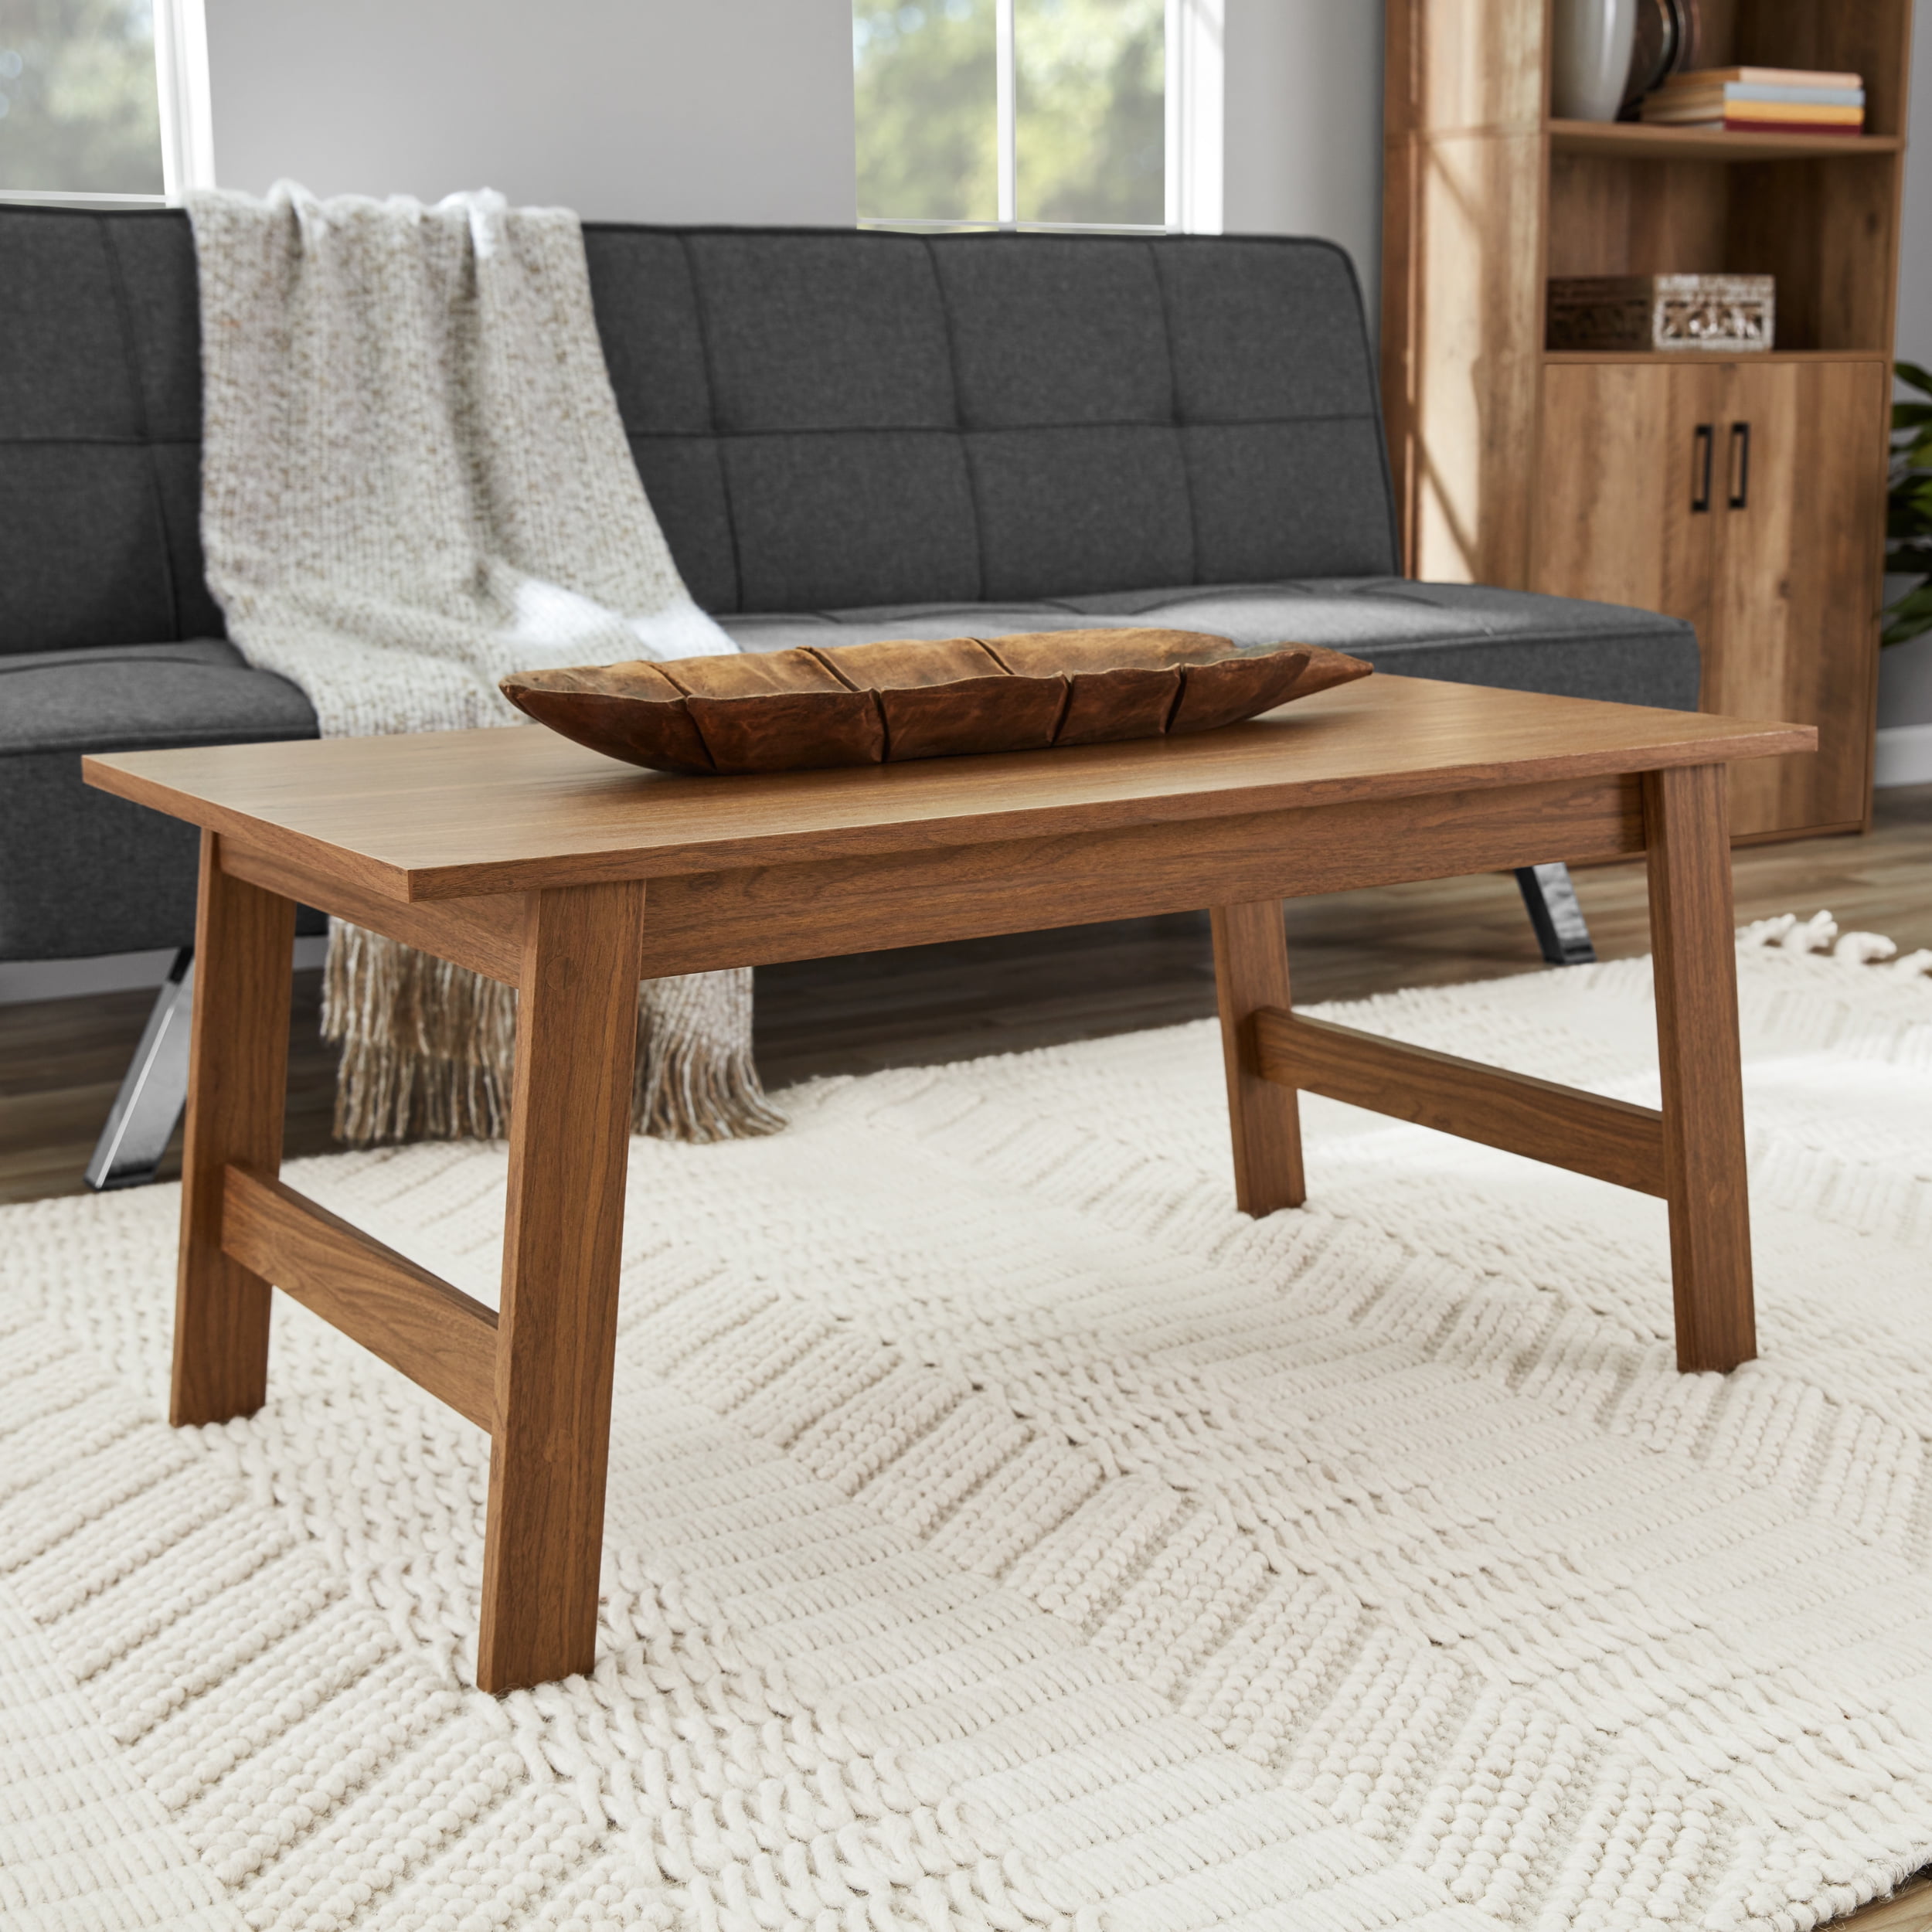
Maintenance Tips for Your Beautifully Finished Coffee Table
Once you've poured your heart into learning how to finish a coffee table and completed the project, ongoing care is essential to keep it looking its best. A little maintenance goes a long way in preserving that beautiful finish.
Regularly dust your coffee table with a soft, lint-free cloth to prevent abrasive particles from scratching the surface. For spills, wipe them up immediately to prevent staining or water damage. Use coasters under drinks and placemats under hot dishes to protect the finish from heat and moisture rings. Avoid harsh chemical cleaners, which can strip or damage the finish; a damp cloth with mild soap is usually sufficient for cleaning. Periodically, you might want to apply a good quality furniture polish or wax, depending on your finish type, to add extra luster and protection. This simple care routine will ensure your expertly finished coffee table remains a stunning focal point for years to come.

Frequently Asked Questions
How long does it take to finish a coffee table?
The total time to finish a coffee table varies significantly based on preparation (stripping old finishes), the number of stain/paint coats, and the type of topcoat. Expect anywhere from 2-5 days, including ample drying and curing times between layers.
Can I finish a coffee table without sanding?
While technically possible for some projects (e.g., using chalk paint with specific primers), proper sanding is almost always recommended. It ensures better adhesion for new finishes and creates a smooth, professional result that will truly make your finished coffee table stand out.
What's the best finish for a high-traffic coffee table?
For a high-traffic coffee table, a durable, protective topcoat is essential. Polyurethane, especially oil-based, or a marine-grade varnish offers excellent resistance to scratches, spills, and general wear and tear, ensuring longevity.
How do I fix a patchy stain on my coffee table?
Fixing a patchy stain often involves sanding down the uneven areas and reapplying the stain evenly. Ensure you wipe off excess stain thoroughly and apply in consistent, thin layers to achieve a uniform color on your finished coffee table.
Is sealing a coffee table always necessary?
Yes, sealing a coffee table is almost always necessary to protect the wood from moisture, spills, and daily wear. A good topcoat extends the life of your table and makes it easier to clean, preserving its beauty.
Conclusion
Mastering how to finish a coffee table is a rewarding journey that blends creativity with craftsmanship. By meticulously preparing your surface, thoughtfully choosing your materials, and patiently applying each coat, you're not just completing a DIY project; you're crafting a durable, beautiful piece that reflects your personal style and enhances your living space. Remember the importance of patience, proper technique, and allowing adequate drying and curing times, as these are the hallmarks of a truly professional finish.
Now that you're equipped with this comprehensive guide, why not embark on your own coffee table finishing adventure? Share your experiences, tips, or any questions in the comments below. We'd love to see your finished projects and hear about your journey!