Heat green coffee to first crack, tailor time for roast level, then cool fast.
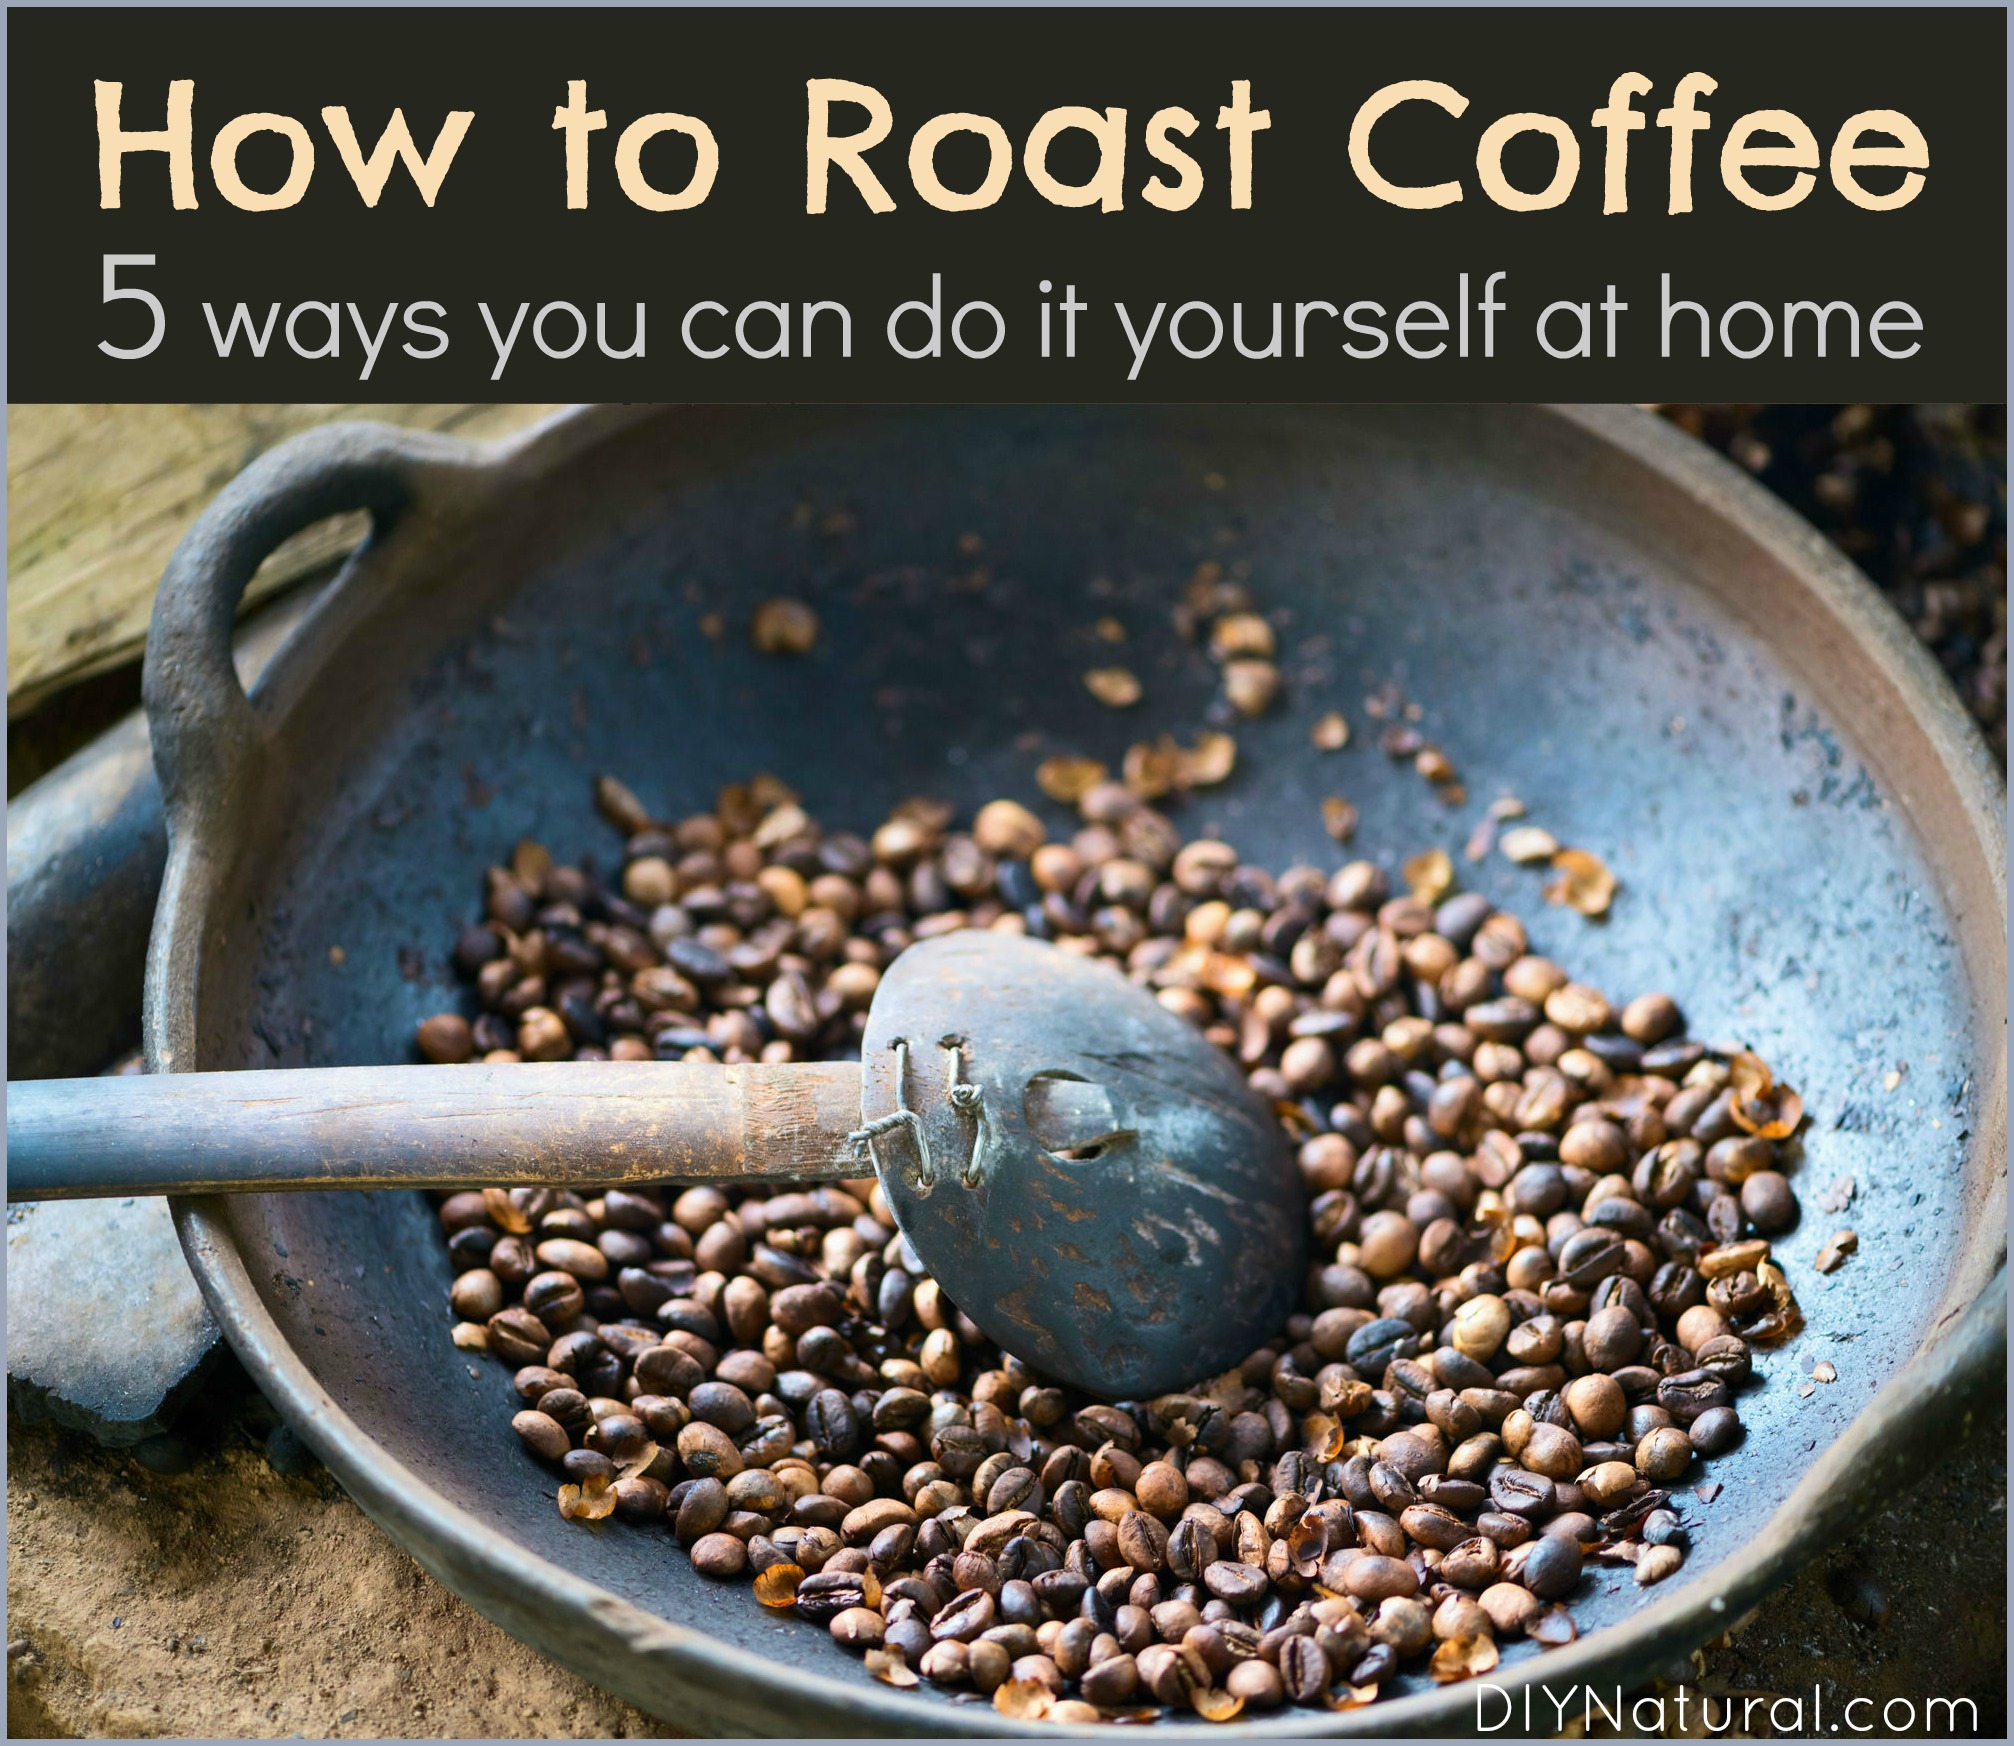
If you want full, fresh flavor at home, learning How To Roast Coffee Beans is the key. I have roasted on stovetops, popcorn poppers, and drum roasters for years. In this friendly guide, I will show you each step, why it works, and how to avoid the smoke and stress. Read on to master How To Roast Coffee Beans with simple tools and clear steps.
What Coffee Roasting Actually Does
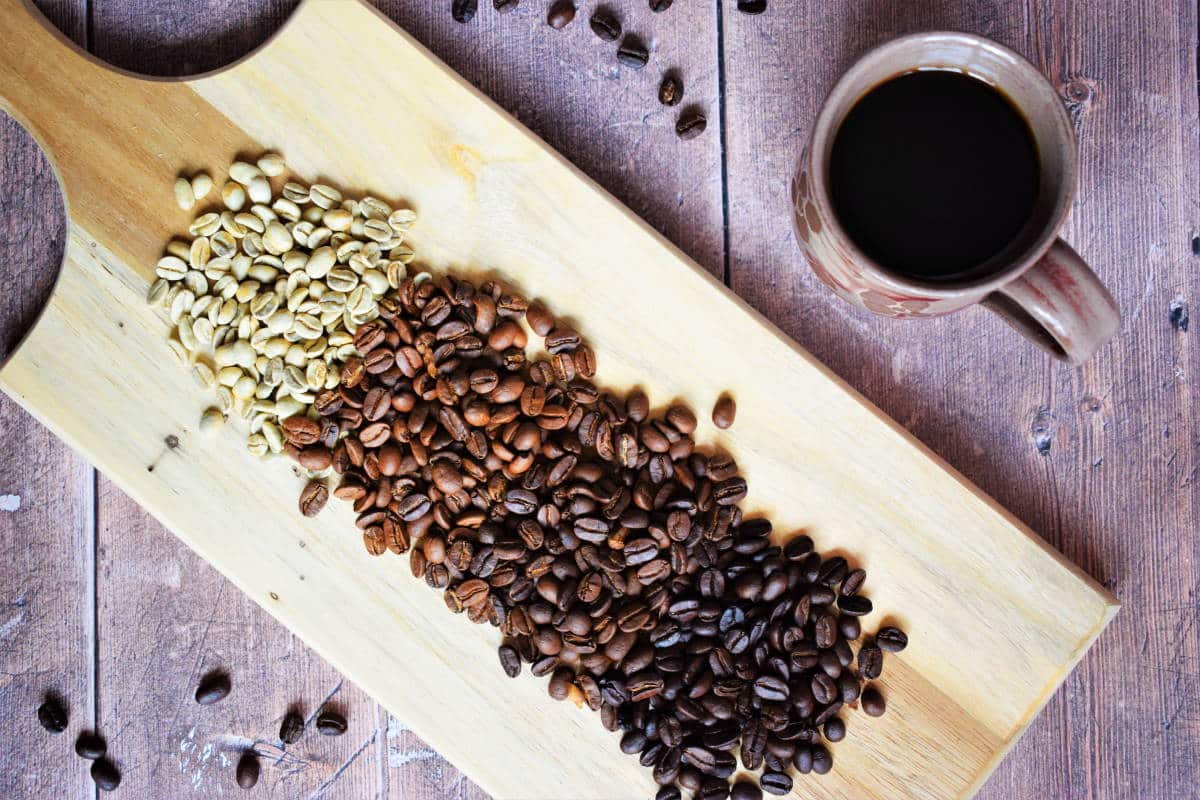
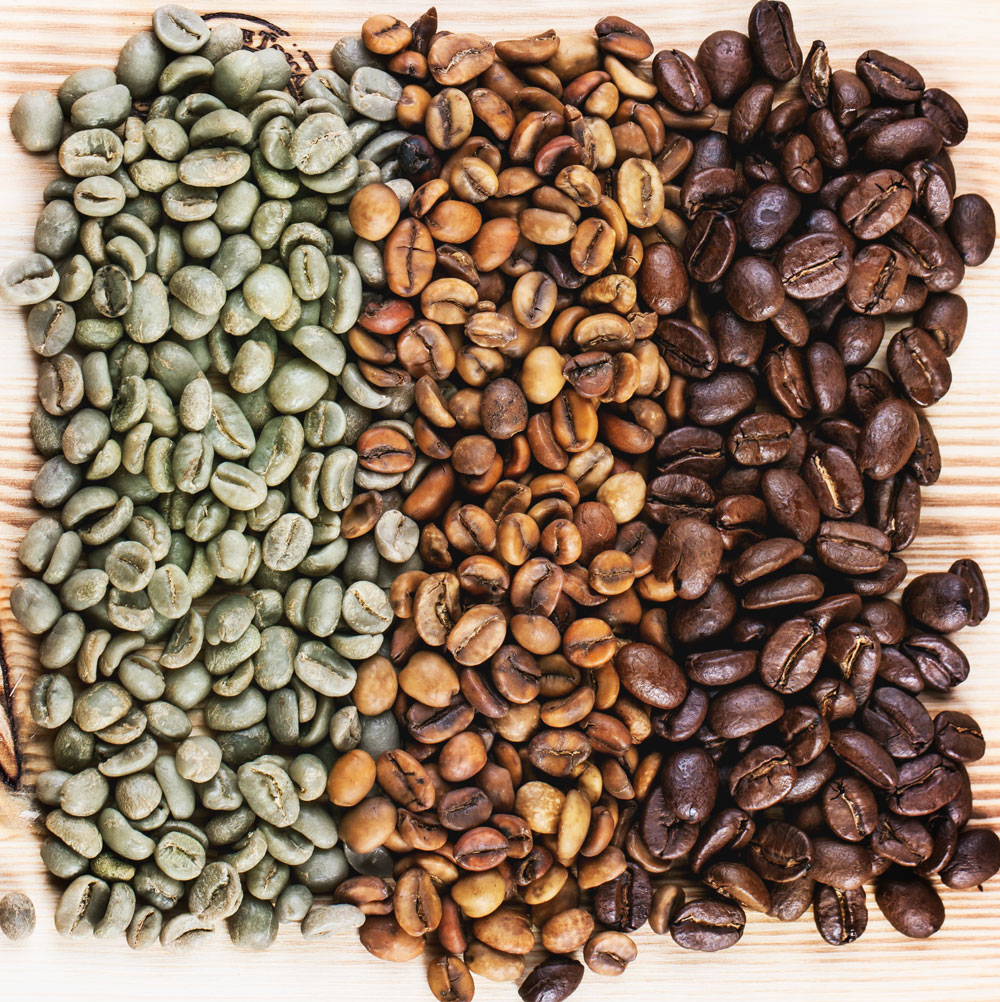
Roasting turns dense, green seeds into the brown, aromatic beans we brew. Heat dries the bean, then sugars and amino acids react to form rich color and flavor. This stage is often called the Maillard phase, and it builds body and sweetness.
You will hear two main sound cues. First crack is a light pop, like popcorn. Second crack is sharper and faster, with a more brittle sound. Most home roasts stop between first and second crack. When people ask How To Roast Coffee Beans well, I start with those two sounds and a timer.
Gear You Need To Roast At Home
You can roast with basic kitchen tools or a home roaster. Each path works if you control heat and airflow.
- Stovetop pan Simple and cheap. Stir non-stop and use medium heat. Smoke can build fast.
- Oven Easy setup. Use a perforated sheet for airflow. Expect unevenness unless you stir.
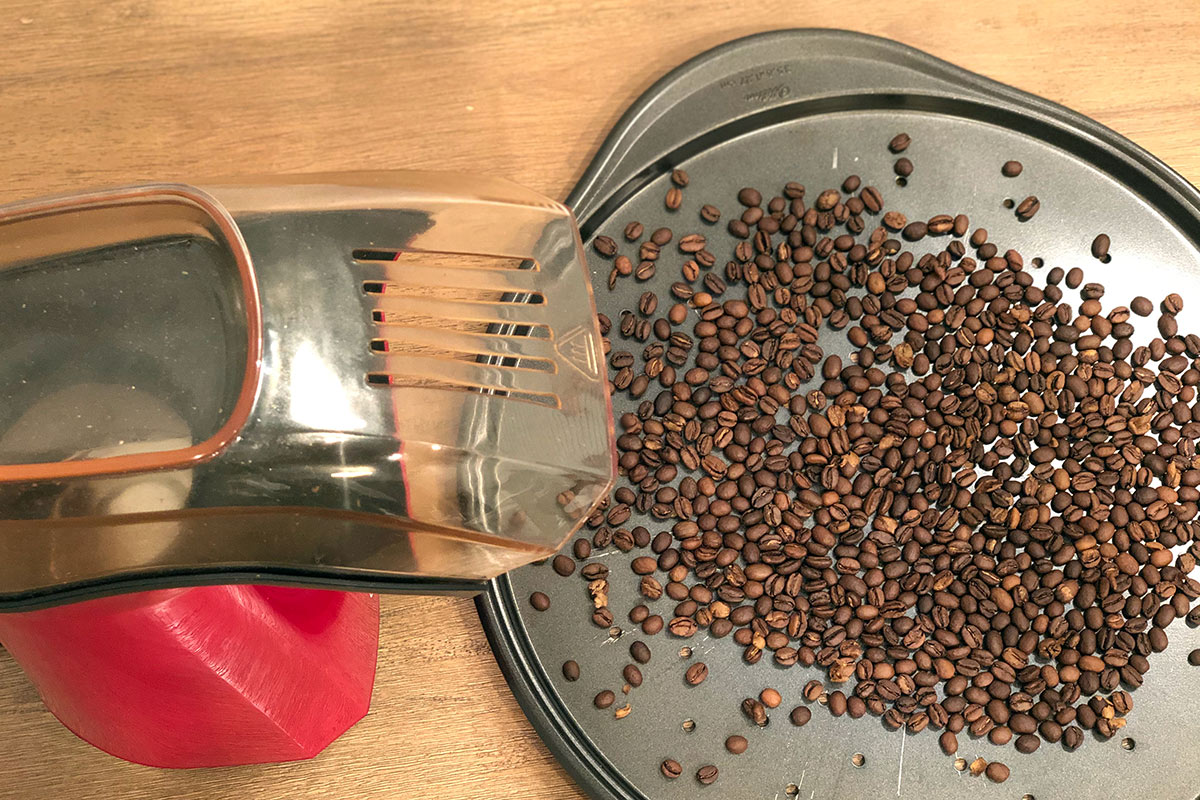
- Air popcorn popper Fast and fun. Choose a model with side vents. Work outside due to smoke.
- Home coffee roaster Best control. Set time, temp, and fan. Costs more, but results are steady.
- Thermometer and scale Track heat and dose. You cannot improve what you do not measure.
- Metal colanders and a fan Cool beans fast after the roast. This locks in flavor and reduces smoke.
I have used all of these to show How To Roast Coffee Beans on a budget. If you want ease of use, pick an air popper or a small drum roaster.
How To Roast Coffee Beans Step-by-Step
You can follow this method on a pan, popper, oven, or small roaster. Times will vary with device and batch size.
- Prep the beans
- Start with fresh green coffee. 100–150 grams is ideal for learning.
- Weigh your batch. Pick a light, even-colored green to learn faster.
- Preheat and charge
- Warm your pan, popper, or roaster. Aim for a hot, stable start.
- Add the beans (this is the charge) and start your timer.
- Drying phase
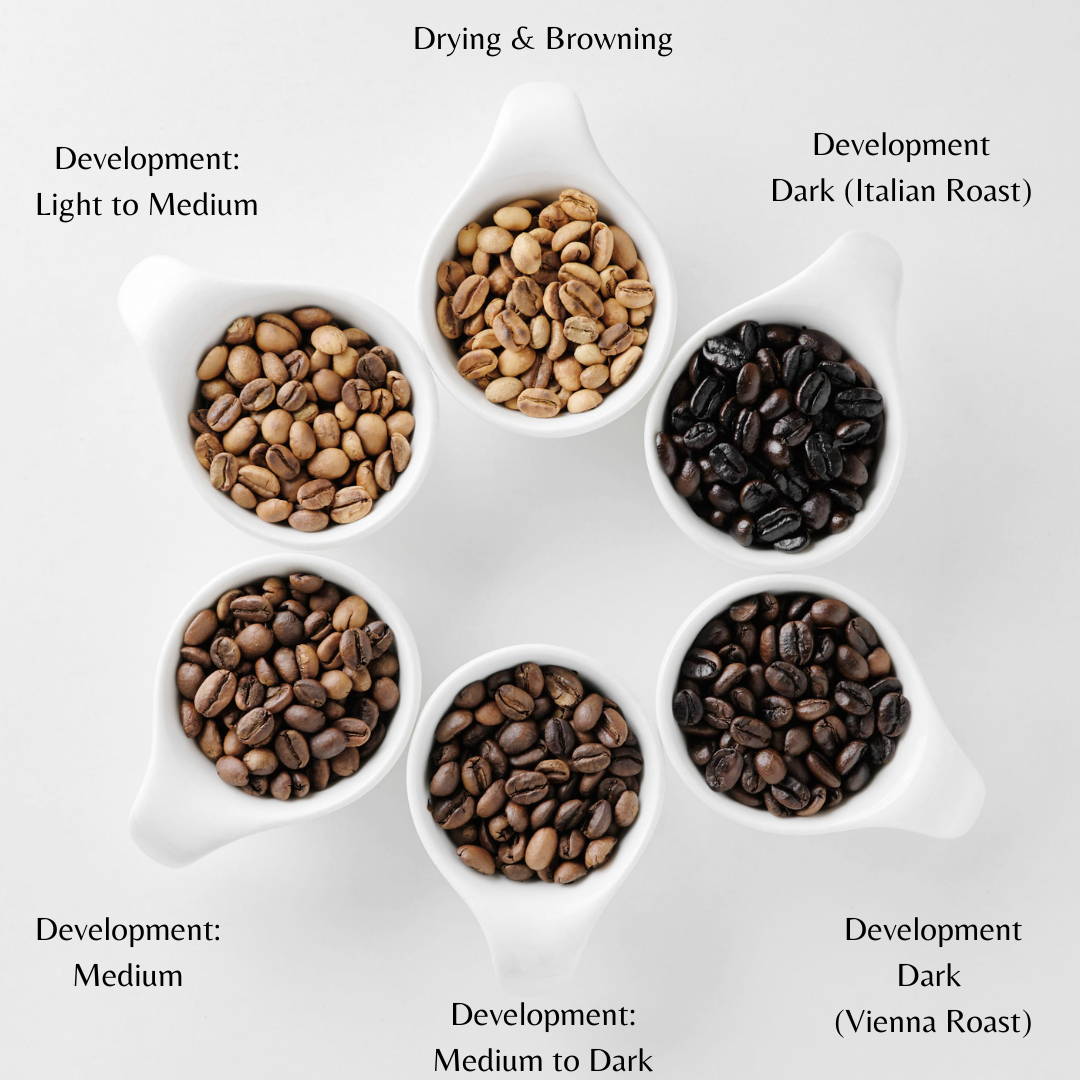
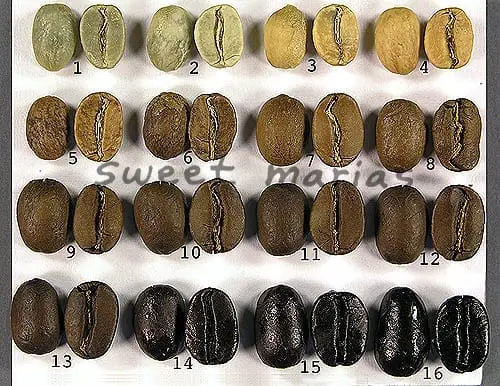
- Beans shift from green to straw yellow. Paper smell fades.
- Keep air moving and heat steady. Avoid scorching with too much flame.
- Maillard and color change
- Yellow turns to light brown. Sweet bread and malt notes rise.
- Stir or agitate to keep even color. Small heat increases help flow.
- First crack
- Around 385°F/196°C, you hear light pops. Note the time.
- Reduce heat a bit to avoid a rush into second crack.
- Development time
- After first crack, sugars set. This is where flavor blooms.
- For balanced cups, aim for 60–90 seconds of development for light to medium roasts. Extend to 2–3 minutes for darker roasts, but watch smoke.
- End the roast
- Stop at your target color and smell. Pull before second crack for medium.
- For dark roasts, go into early second crack with care.
- Cool fast
- Dump beans into colanders. Stir and fan until warm to the touch.
- Fast cooling keeps flavors bright and clean.
This repeatable path is the backbone of How To Roast Coffee Beans in any setup. Keep notes on times, sounds, and smells to improve each batch.
Roast Levels and Flavor Guide
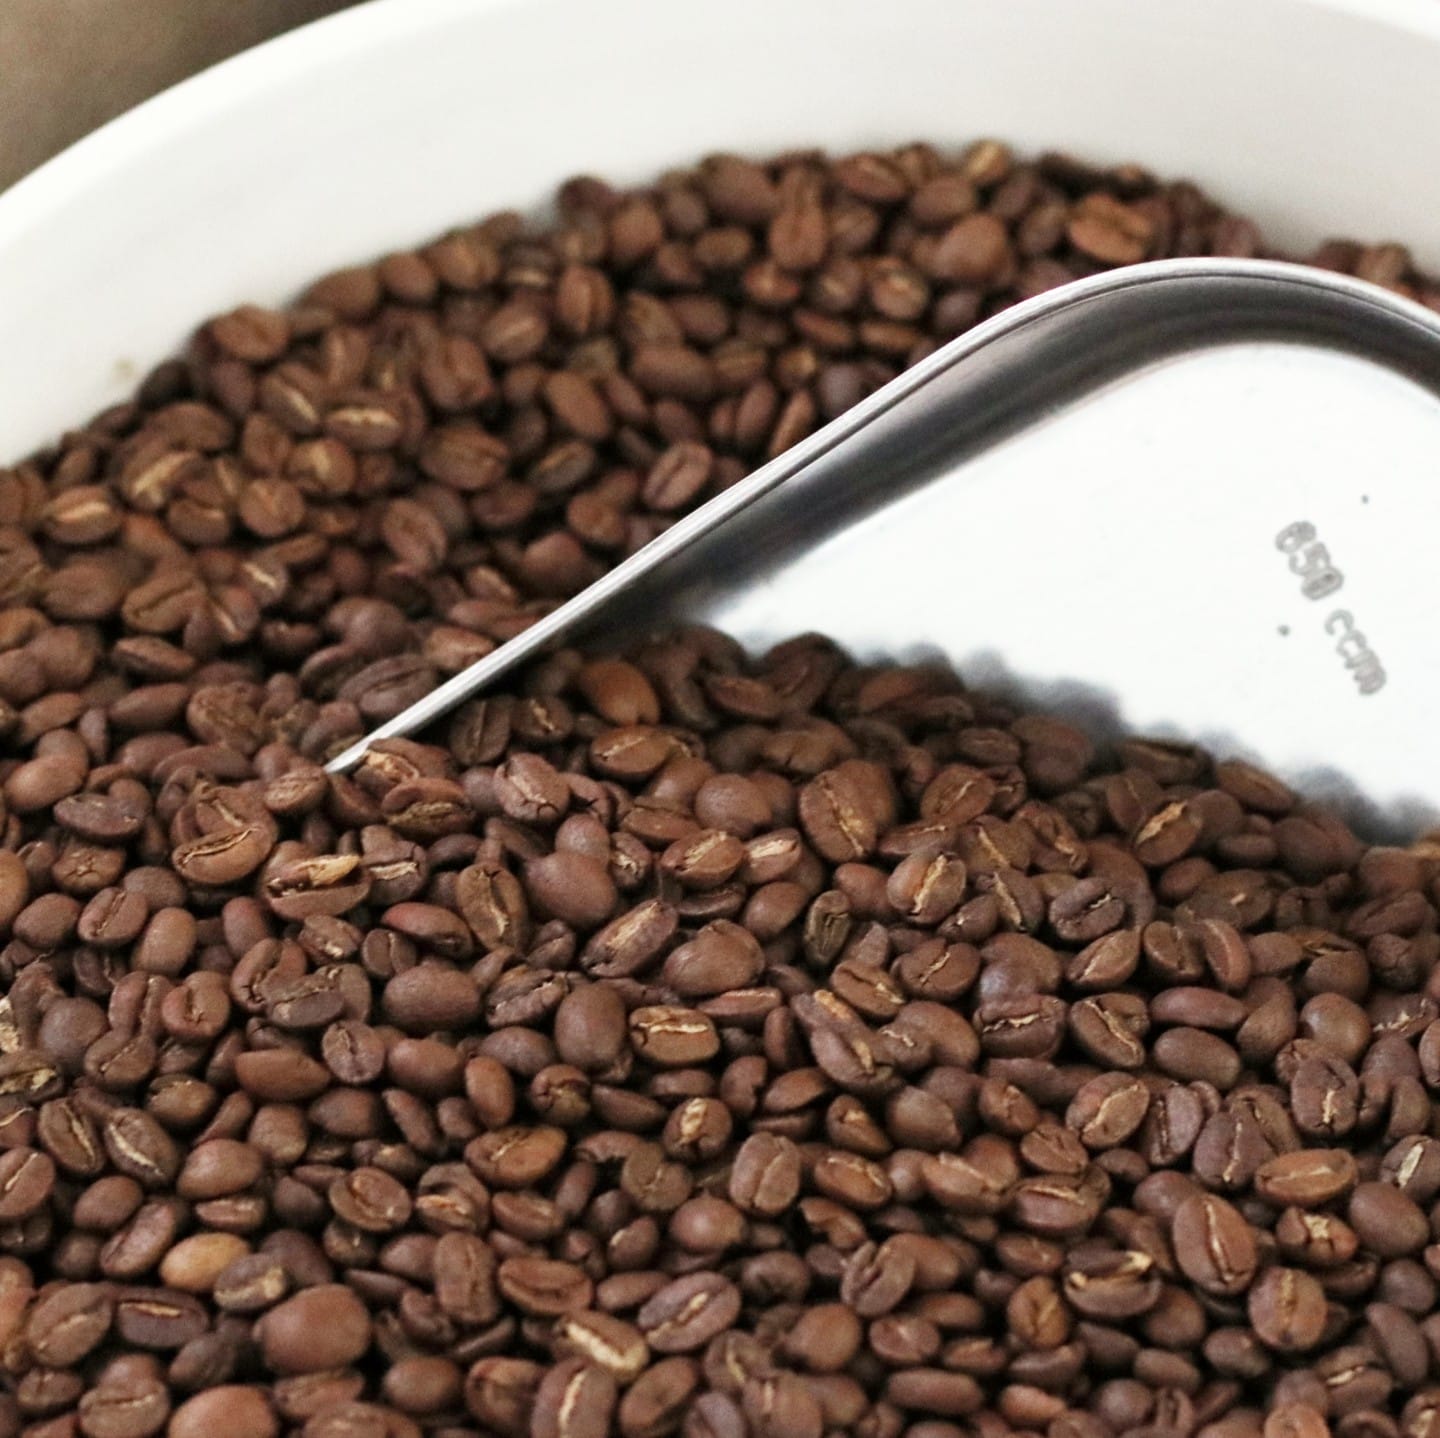
Roast level shapes body, acidity, and sweetness. Use sight, smell, and sound to guide you.
- Light roast Stop 30–90 seconds after first crack ends. Color is light brown. Expect higher acidity, floral notes, and tea-like body. Great for pour-over.
- Medium roast Stop 60–120 seconds after first crack. Color is medium brown. Expect balance of sweetness, body, and bright tones. Great for drip and espresso.
- Medium-dark roast End just before or at the start of second crack. Body is round and syrupy. Expect cocoa, nut, and mild smoke notes.
- Dark roast Push into second crack. Oils may show on the surface. Expect bold body, lower acidity, and heavy roast notes.
If you search How To Roast Coffee Beans for your taste, start with medium. Then try one batch lighter and one darker. Taste them side by side to learn fast.
Cooling, Resting, and Storage
Cooling fixes the roast. Do it fast. I toss hot beans between two metal colanders under a small fan. A baking sheet also works if you spread them thin and stir.
Freshly roasted beans release CO2, called degassing. Let beans rest before brewing. Light roasts often peak after 2–4 days. Medium roasts taste great after 1–3 days. Dark roasts can be good the next day.
Store beans in a cool, dark place. Use an airtight jar or a bag with a one-way valve. Avoid light, heat, and oxygen. Freeze only if you must keep beans for weeks. Divide into small sealed packs and thaw once. Proper storage is part of How To Roast Coffee Beans like a pro.
Roast Profiles, Timing, and Consistency
A roast profile is your time and temperature path. You do not need a fancy graph to improve it. You only need to note the key events.
- Charge temperature Start hot enough for momentum, but not so hot you scorch.
- Turning point Beans absorb heat and the temp dips, then rises.
- Dry end Yellow color marks the end of drying.
- First crack The main cue. Note the time.
- Development time ratio Aim for about 15–25% of the total roast after first crack for balance.
I log each roast on paper. Bean, batch size, device, time to yellow, time to first crack, pull time, and notes on smell and color. This simple log makes How To Roast Coffee Beans a repeatable craft, not a guess.
Safety, Smoke, and Troubleshooting
Roasting makes smoke and chaff. Work outside or under a strong hood. Keep a metal lid nearby. Never leave a roast unattended.
- Baked flavor Flat and bready notes. Cause is long, slow heat with no push. Fix by using a steadier, hotter ramp.
- Scorch or tipping Dark spots on the bean. Cause is too much heat at the start. Fix by lowering initial flame or stirring more.
- Underdeveloped Grassy or sour taste. Ended too soon after first crack. Extend development by 20–30 seconds.
- Oily beans fast Surface oil in a day. Roast ended too deep. Stop earlier next time.
Good safety habits build trust in your process. Reliable sources advise using heat-safe gloves, stable gear, and clear airflow. Make these habits part of How To Roast Coffee Beans every time you roast.
Brew Matching and Tasting
Match your brew method to your roast. Light roasts shine with pour-over or AeroPress. Medium to medium-dark works well for drip, espresso, and moka pots. Dark roasts suit French press and milk drinks.
Do a simple taste test. Grind the same dose, brew, and write three words: aroma, body, finish. I once roasted the same Ethiopian lot three ways. Light had lemon and floral. Medium showed peach and honey. Medium-dark leaned to cocoa. This is the joy of How To Roast Coffee Beans at home.

Common Mistakes and Pro Tips
- Roasting too much at once Small batches are easier to control.
- Ignoring airflow Beans need air to roast even. Keep vents clear.
- Chasing temperature, not cues Use color, smell, and cracks, not just numbers.
- Skipping the cool-down Fast cooling makes cleaner cups.
- Not resting the beans Give them 24–72 hours to bloom.
- Pro tip Use the same green beans for a month. Change one variable at a time.
- Pro tip Keep a “hero jar” of your best roast. Use it as a flavor target.
- Pro tip If smoke alarms hate you, roast on a balcony with a fan.
These simple habits make How To Roast Coffee Beans calmer and more fun. Your results will jump in a week.
Frequently Asked Questions of How To Roast Coffee Beans
What is the easiest way to start roasting at home?
An air popcorn popper is the easiest. It is quick, cheap, and gives clear first crack sounds for timing.
How long does a roast take?
Most home roasts take 8–12 minutes. Darker roasts run longer, but avoid stalling the roast with low heat.
What temperature is first crack?
First crack happens around 385°F/196°C. Use sound and color cues, not just the number.
How soon can I brew after roasting?
Let beans rest for at least 24 hours. Many coffees taste best between days 2 and 4.
Can I roast in an oven?
Yes, but it can be uneven. Use a perforated pan, stir often, and watch for smoke.
Why does my coffee taste grassy?
It is underdeveloped. Extend the time after first crack by 20–30 seconds and cool fast.
Should I freeze roasted coffee?
Only if you need long storage. Use small, airtight packs and thaw once to prevent moisture issues.
Conclusion
You now know how heat, time, and airflow turn green seeds into great coffee. Start small, track your cues, and cool fast. A few steady habits will make your cups bright, sweet, and clear.
Set aside one hour this week to test a light and a medium roast side by side. Share your tasting notes, ask questions, and keep learning. If you found this guide on How To Roast Coffee Beans helpful, subscribe for more home coffee tips or leave a comment with your latest roast results.