
The best coffee gear for a home in the United States depends on how you brew, how many cups you make, and how much control you want. Most people need only four core items: a brewer, a grinder, a scale, and fresh coffee. A gooseneck kettle, good water, and simple cleaning tools can improve results, but they are not required for every setup.
This guide explains what each piece of coffee gear does, what to buy first, and how to build a useful setup without wasting money.
What Counts as Coffee Gear?
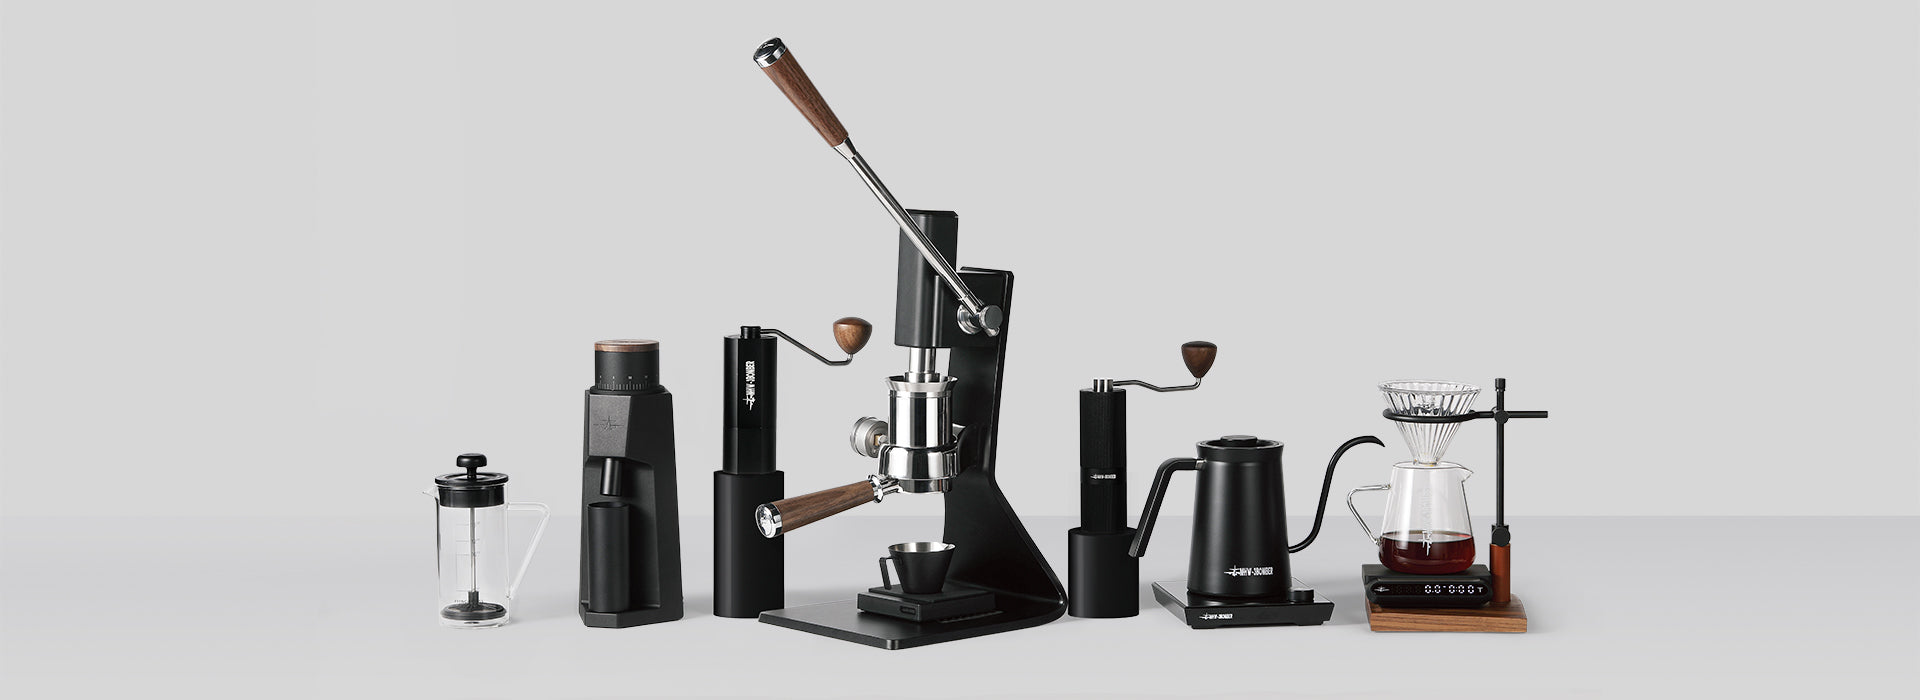
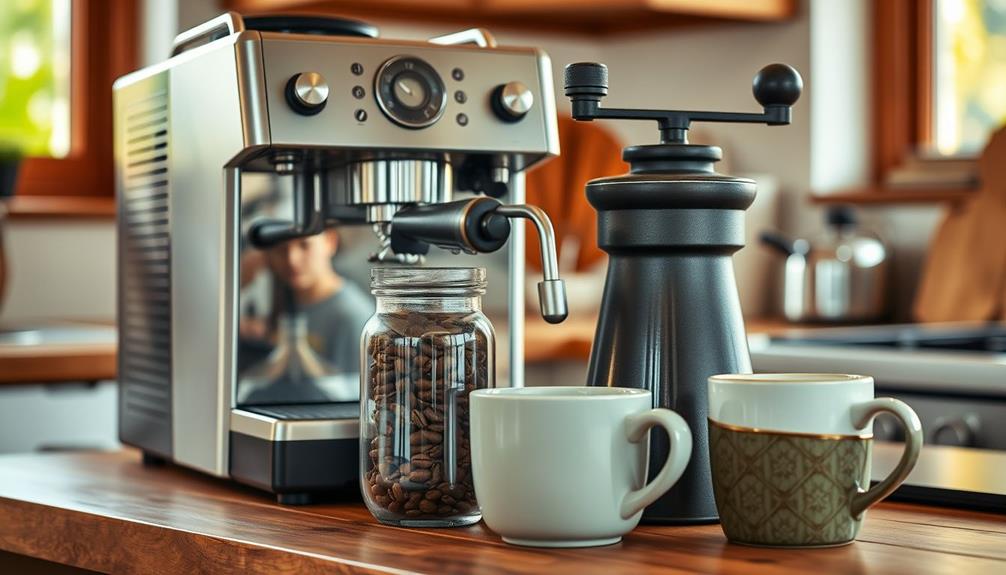
Coffee gear includes the tools used to grind, brew, serve, store, and clean coffee. The category ranges from a basic automatic coffee maker to manual tools such as a burr grinder, pour-over dripper, and digital coffee scale.
The main groups are:
- Brewing gear: Drip machines, pour-over brewers, French presses, AeroPress-style brewers, moka pots, and espresso machines
- Grinding gear: Burr grinders and blade grinders
- Measuring gear: Coffee scales, timers, measuring spoons, and dosing cups
- Heating gear: Electric kettles, gooseneck kettles, and stovetop kettles
- Storage gear: Airtight coffee containers and dose tubes
- Cleaning gear: Brushes, detergent, descaling solution, and backflushing supplies for espresso machines
- Serving gear: Mugs, carafes, thermal servers, and travel cups
The most useful distinction is between gear that changes extraction and gear that improves comfort. A grinder can change extraction greatly. A coffee scoop mainly makes dosing faster.
The four essentials
For most home brewers, start with:
- A brewer that matches your preferred style
- A burr grinder that produces a fairly even grind
- A digital scale that reads in grams
- Fresh, properly stored coffee beans
A timer may be built into your phone. You can heat water in a normal kettle. You can also use a kitchen scale at first, as long as it responds quickly and measures in grams.

The Coffee Gear That Matters Most
A good grinder usually gives the largest improvement after fresh coffee. Brewing gear matters next, while accessories help you repeat the same process with less effort.
1. Burr grinder
A burr grinder crushes coffee between two surfaces called burrs. It usually makes a more even particle mix than a blade grinder.
An even grind matters because small particles extract faster than large particles. If the mix is very uneven, some coffee may taste sharp and weak while other coffee tastes dry and bitter.
Choose a grinder based on your brew method:
- Coarse and medium settings: French press and automatic drip coffee
- Medium-fine settings: Pour-over and AeroPress-style brewing
- Fine settings: Espresso and moka pot, depending on the recipe
A hand burr grinder can offer good control at a lower cost, but it takes more effort. An electric burr grinder is faster and better for several cups or daily espresso.
Look for:
- A wide range of grind settings
- Repeatable adjustment
- Easy cleaning
- Low grind retention
- A motor and burr set suited to your brew method
Avoid choosing a grinder only by its number of settings. A grinder with many poorly spaced settings may be less useful than one with fewer, more consistent steps.
2. Coffee scale
A scale helps you control two key variables:
- How much coffee you use
- How much water you add
A scale that reads to 0.1 gram is useful for espresso and small brews. A scale that reads to 1 gram can work for drip coffee, French press, and larger batches.
Useful features include:
- A tare button
- A timer
- A fast display
- A surface that fits your brewer
- Water resistance around the buttons
A scale helps you repeat a recipe. Without one, a “scoop” may change with bean size, grind size, and how tightly you fill it.
3. Brewer
Your brewer sets the basic workflow and texture of the coffee.
| Brewer | Best for | Main strength | Main trade-off |
|---|---|---|---|
| Automatic drip machine | Several cups | Easy and fast | Less direct control |
| Pour-over | One or two cups | Clear flavor and control | Needs attention |
| French press | Full body | Simple and low cost | More sediment |
| AeroPress-style brewer | One cup and travel | Fast and flexible | Small capacity |
| Moka pot | Strong stovetop coffee | Rich, concentrated cup | Can taste harsh if overheated |
| Espresso machine | Espresso drinks | Concentrated coffee and milk drinks | Higher cost and maintenance |
If you make coffee for several people, an automatic drip machine may be the most practical choice. If you enjoy adjusting grind and pour speed, a pour-over setup may suit you better.
4. Kettle
Any clean kettle can heat water. A gooseneck kettle gives more control over the flow, which can help with pour-over brewing.
A temperature display can make recipes easier to repeat. It is not essential if your kettle can boil water and you use a simple routine.
Do not leave water sitting in a kettle for long periods. Empty it when practical and follow the manufacturer’s cleaning instructions. Mineral scale can build up faster in areas with hard water.
5. Coffee storage
Coffee stays fresher when you limit exposure to air, heat, light, and moisture.
A useful storage container should:
- Seal well
- Block strong light
- Stay away from heat
- Hold the beans without a large air gap
You do not need a complex vacuum container for most home use. A clean, airtight container in a cool cabinet is often enough. Avoid storing coffee in the refrigerator, where moisture and food odors can affect the beans.
Buy an amount you can use while the coffee still tastes fresh. The ideal window depends on the roast, package, and storage conditions.

How to Choose Coffee Gear by Brew Method
Choose your brewer first. Then buy the grinder, scale, and other tools that support it.
For automatic drip coffee
A practical drip setup includes:
- Automatic drip brewer
- Medium-grind burr grinder
- Digital scale
- Paper filters that fit the machine
- Thermal carafe or insulated serving vessel
Look for a machine that heats water well, spreads water over the coffee evenly, and keeps brewed coffee warm without cooking it for a long time. A thermal carafe can help preserve flavor better than a hot plate.
Use the machine’s manual for filter size, cleaning steps, and water limits. Not all machines use the same basket or replacement parts.
For pour-over coffee
A basic pour-over setup includes:
- Pour-over dripper
- Matching paper filters
- Gooseneck kettle
- Burr grinder
- Digital scale
- Timer
- Carafe or mug
Pour-over brewing rewards small changes. Grind size, water flow, coffee dose, and total brew time all affect the cup.
A simple starting ratio is 1 gram of coffee to 15–17 grams of water. For example, 20 grams of coffee with 320 grams of water is a reasonable starting point. This is a starting recipe, not a fixed rule.
If the coffee tastes sour and thin, try a finer grind or a longer brew. If it tastes bitter and dry, try a coarser grind or a shorter brew.
For French press coffee
A French press setup needs:
- French press
- Coarse burr grinder
- Scale
- Timer
- Spoon or stir tool
French press coffee contains more oils and fine particles than paper-filtered coffee. This gives it a heavier body.
A common starting point is 1 gram of coffee to 15–17 grams of water. Steep time, grind size, and stirring all affect the result. If the cup tastes muddy, use a slightly coarser grind and pour more gently.
Glass presses show the coffee but can lose heat faster. Stainless steel presses hold heat well but hide the brew.
For espresso
Espresso requires more precise gear than most other methods:
- Espresso machine
- Espresso-capable burr grinder
- Digital scale
- Tamper that fits the basket
- Dosing cup or funnel
- Cleaning brush
- Espresso detergent
- Fresh water
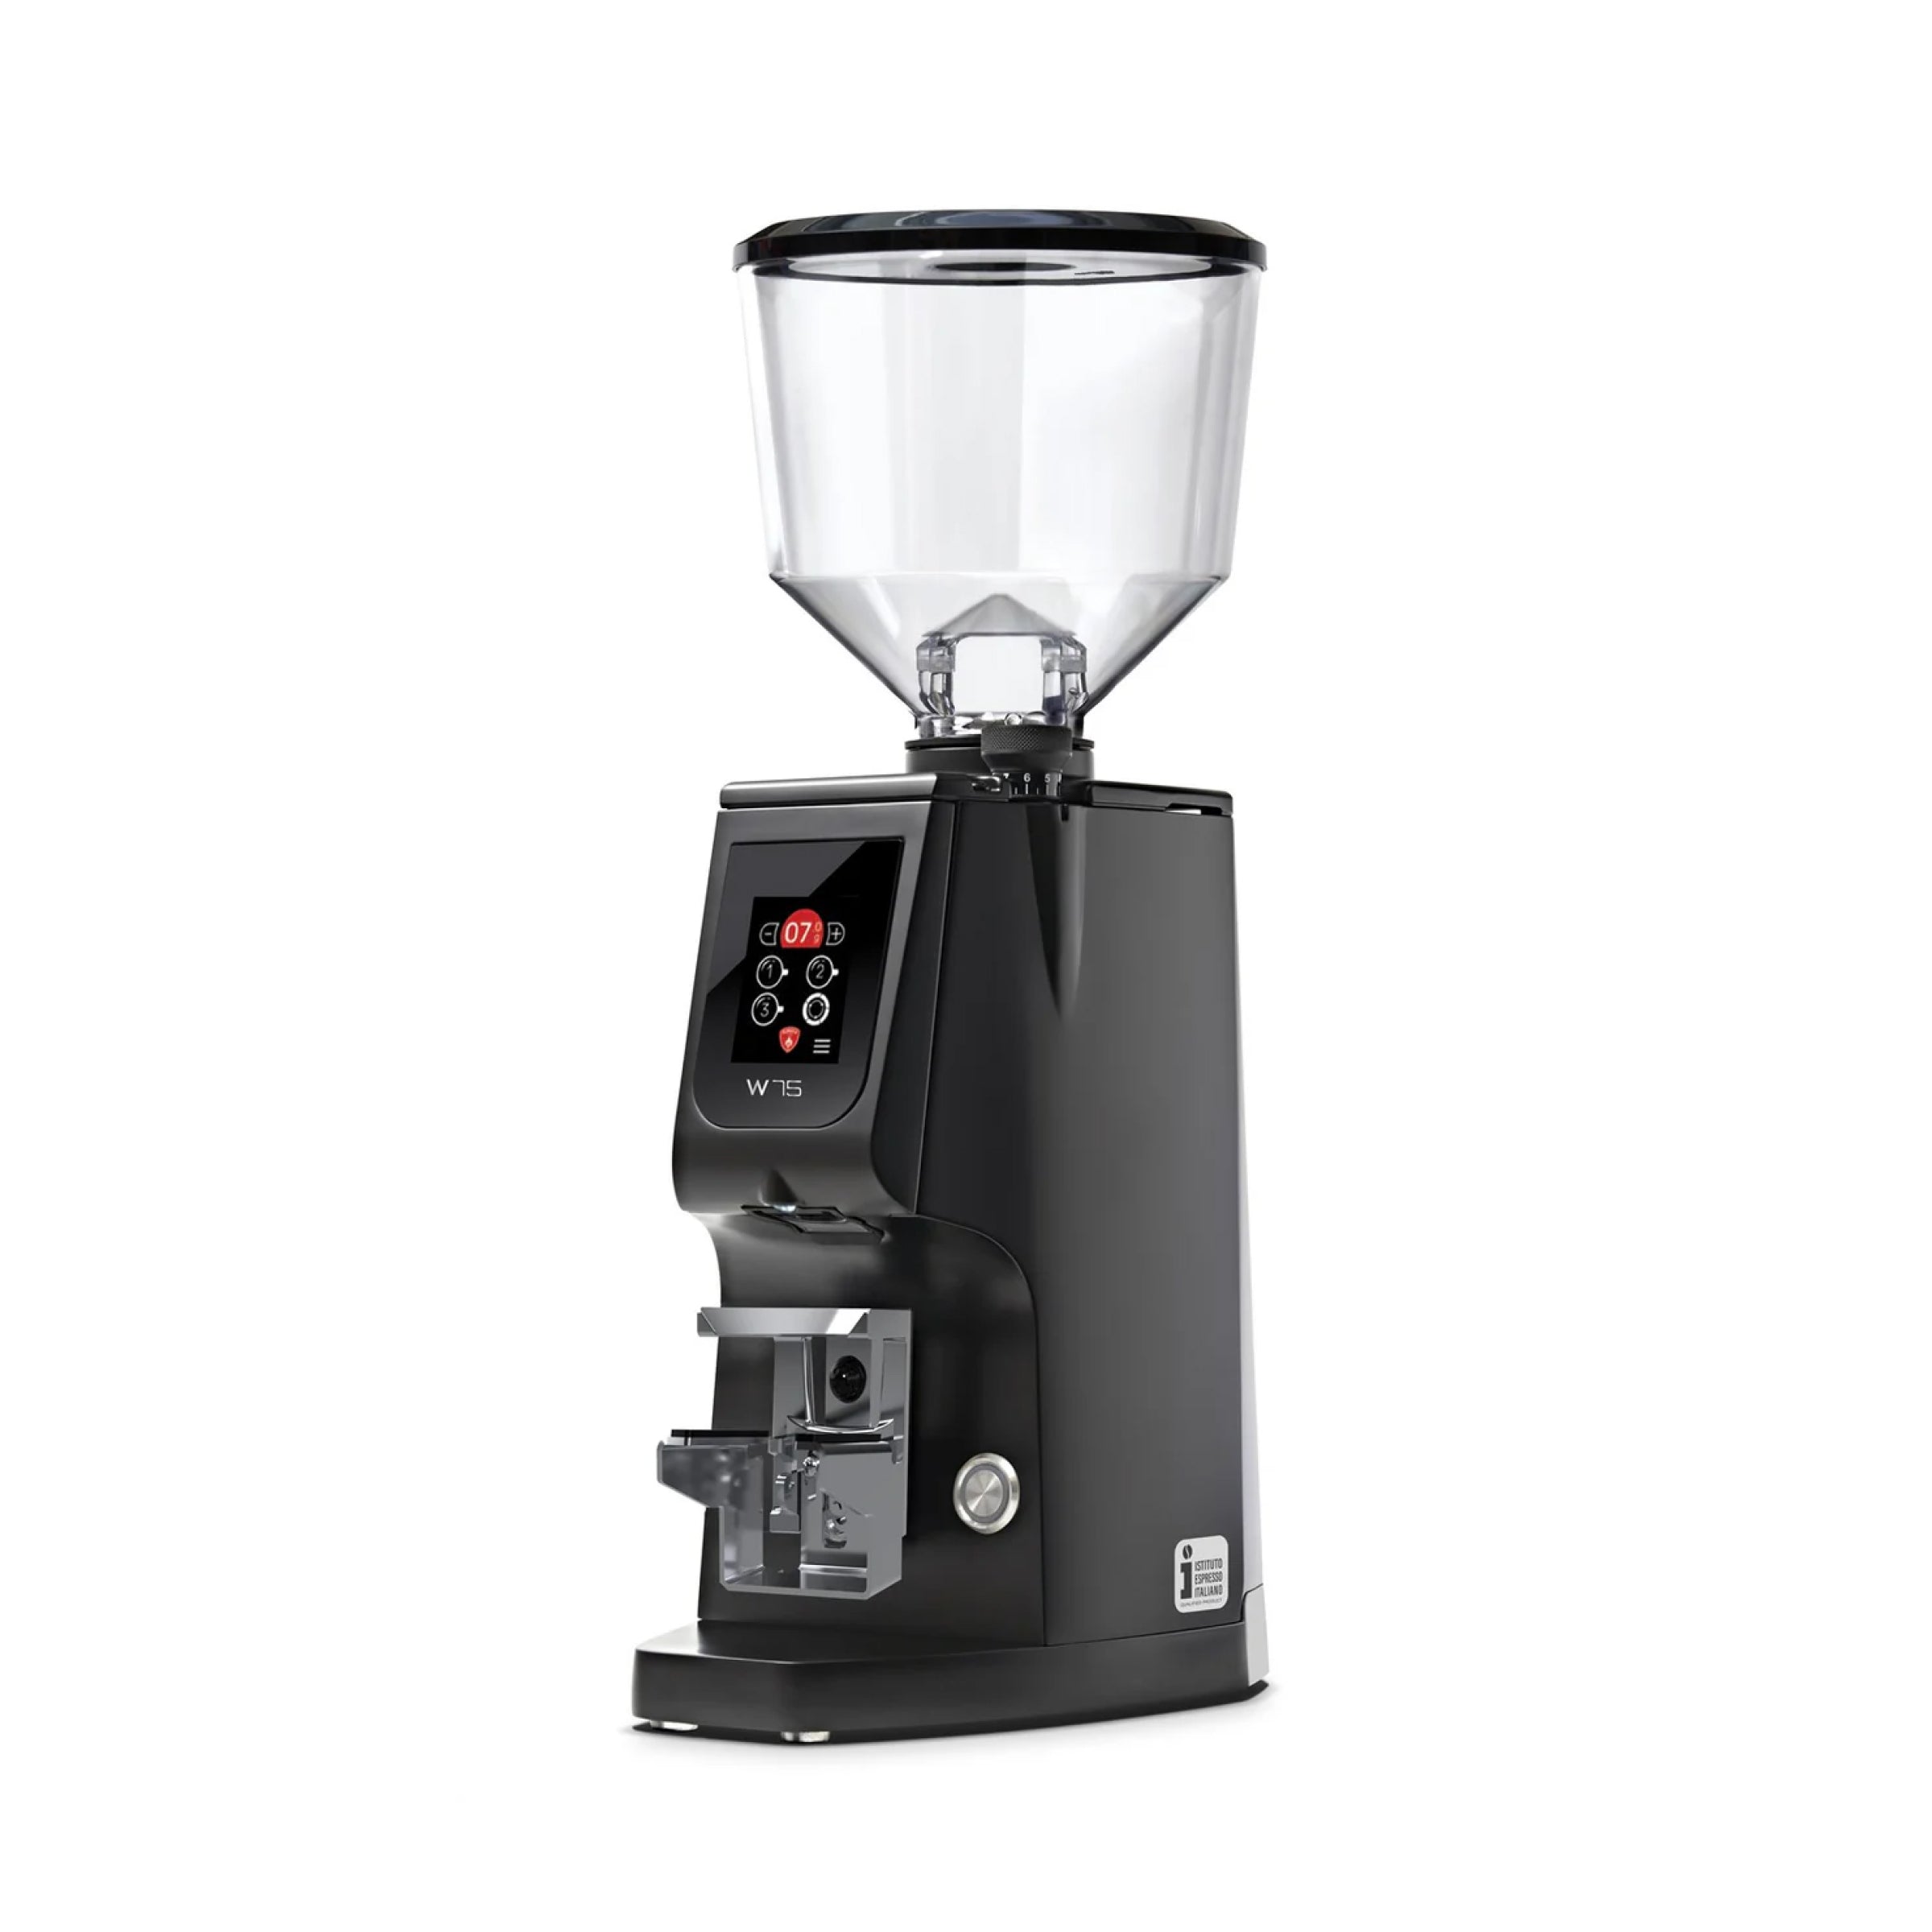
The grinder is often the first major limit. A grinder that works well for drip coffee may not make the fine, consistent adjustments needed for espresso.
A scale can help measure both the coffee dose and the drink output. Espresso recipes are often discussed as a ratio, such as 1 part dry coffee to 2 parts liquid espresso. Treat that as a starting point, not a universal target.
Espresso machines also need regular care. Follow the exact manual for cleaning, backflushing, gasket replacement, and descaling. Never use a cleaning chemical unless it is approved for that machine.
For coffee on the road
A travel setup can stay small:
- Hand burr grinder
- Compact brewer
- Small scale
- Folding spoon or scoop
- Insulated mug
- Fresh coffee in a sealed bag or container
Check the voltage before using an electric grinder or kettle outside the United States. A plug adapter changes the plug shape, but it may not change voltage or frequency. For international travel, follow the appliance manufacturer’s electrical requirements.
A Simple Coffee Gear Buying Plan
You do not need to buy everything at once. Build your setup in this order.
Step 1: Pick the brew style
Ask:
- Do you make one cup or a full pot?
- Do you want speed or control?
- Do you drink black coffee or milk drinks?
- Do you travel with your coffee gear?
- How much cleanup will you accept?
Your answers narrow the choice quickly.
Step 2: Buy the grinder
If your current grinder is a blade model, moving to a burr grinder may improve consistency more than buying a decorative accessory.
For a small budget, a hand burr grinder can be a sensible start. For convenience, choose an electric burr grinder that fits your daily volume.
Step 3: Add a scale
A scale reduces guesswork. It also makes troubleshooting easier because you can change one variable at a time.
For a basic coffee setup, choose a scale with:
- Gram readings
- A tare function
- A built-in timer if possible
- Enough space for your brewer
Step 4: Improve water
Water makes up most of the finished drink. A strong coffee recipe cannot fully correct water that tastes bad or contains a level of minerals that causes equipment problems.
Use fresh, good-tasting water. If you use filtered or bottled water, check the label and your brewer’s instructions. Espresso machines may need water within a specific mineral range to reduce scale and protect internal parts.
Do not use distilled water in a coffee machine unless the manufacturer says it is suitable. Very low-mineral water may affect brewing and can interfere with some machine sensors.
Step 5: Add comfort tools
After the basics work well, consider:
- A gooseneck kettle
- A thermal carafe
- An airtight storage container
- A dosing cup
- A knock box for espresso
- A second scale for travel
- A better coffee server
These tools can make the process easier, but they should solve a real problem.
Coffee Gear Cost and Value
The most useful gear is not always the most expensive. Value comes from consistency, serviceability, and fit with your routine.
| Budget level | Practical setup | Best for |
|---|---|---|
| Basic | Simple brewer, hand grinder, kitchen scale | New home brewers |
| Mid-range | Better burr grinder, dedicated scale, improved kettle | Daily coffee drinkers |
| Advanced | High-control grinder, temperature-controlled kettle, specialty brewer | People who enjoy recipe changes |
| Espresso-focused | Espresso machine, espresso grinder, scale, cleaning tools | Milk drinks and espresso practice |
Spend more when the item affects extraction or receives heavy daily use. Spend less on items that only improve appearance.
A low-cost scale that turns off during brewing can be frustrating. A costly storage container may add little if you already use a good airtight jar. Match the expense to the problem.
A simple value test
Before buying, ask:
- What problem does this tool solve?
- Can my current gear solve that problem with a better routine?
- Will I use the tool at least several times each week?
- Can I clean it and find replacement parts?
- Does it fit my brewer and power supply?
If you cannot name the problem, wait before buying.

How to Use Coffee Gear for More Consistent Results
Change one variable at a time. This makes the result easier to understand.
Start with a measured recipe
Write down:
- Coffee dose
- Water amount
- Grind setting
- Water temperature, if known
- Brew time
- Taste result
For a hypothetical pour-over recipe, you might start with 20 grams of coffee and 320 grams of water. If the coffee tastes too sharp, adjust the grind or brew time before changing the coffee dose.
Use taste to guide adjustments
| Taste or texture | Possible cause | First change to try |
|---|---|---|
| Sour, thin, or sharp | Under-extraction | Grind finer or brew longer |
| Bitter, dry, or harsh | Over-extraction | Grind coarser or brew for less time |
| Weak but balanced | Too little coffee or too much water | Increase the dose or reduce water |
| Strong but unpleasant | Too much coffee or poor extraction | Check the grind and recipe |
| Muddy or gritty | Fine particles or a damaged filter | Grind more evenly or check the filter |
These are useful starting points, not proof of one exact cause. Coffee taste also changes with roast level, bean age, water, and brewing temperature.
Check the equipment before changing the recipe
If results change suddenly, inspect:
- Grinder burrs for buildup
- The brewer for blocked holes
- Paper filters for a poor fit
- The kettle for mineral scale
- The coffee for stale or damp beans
- The scale for low battery or unstable readings
A dirty grinder can add old coffee oils and particles to a fresh dose. Clean it according to the grinder manual.

Cleaning and Maintenance
Clean gear helps protect flavor and equipment. A small routine is easier than waiting for a heavy buildup.
Daily or after each use
- Empty used coffee grounds
- Rinse the brewer and carafe
- Rinse reusable filters
- Wipe coffee oils from the basket
- Dry parts before storage when the manual allows it
Do not leave wet grounds in a grinder or sealed brewer. Moisture can lead to odors and buildup.
Weekly or as needed
- Brush loose grounds from the grinder
- Wash removable brewer parts
- Clean the coffee server
- Inspect seals, baskets, and filter holders
- Wipe the kettle exterior
The schedule depends on use. A person making one drip coffee each day needs less frequent cleaning than a household making many espresso drinks.
Descaling
Descaling removes mineral deposits from equipment that heats water. Follow the machine’s manual for the product, amount, and rinse cycle.
Do not assume vinegar is safe for every machine. It may leave odor, and some manufacturers warn against it. Use the method approved for your model.
Espresso machine care
Espresso machines may require:
- Rinsing the group head
- Cleaning the portafilter and basket
- Wiping and purging the steam wand
- Backflushing when the manual calls for it
- Replacing worn gaskets
- Descaling under the correct conditions
Turn off and unplug equipment before cleaning areas that could expose you to moving parts or electricity. Never immerse an electrical base unless the manual says it is designed for that use.

Common Coffee Gear Mistakes
Buying a brewer before choosing the coffee style
A large automatic machine may not suit someone who wants one carefully adjusted cup. A small pour-over may frustrate a household that needs coffee for six people.
Choose the daily workflow first.
Spending too much on accessories
A beautiful server cannot fix an uneven grind or stale beans. Buy the items that affect brewing before decorative tools.
Ignoring water
Poor-tasting tap water can make good coffee taste flat or harsh. It can also increase mineral buildup in kettles and coffee machines.
Using the wrong grind
Grind size must match the brewer. Espresso usually needs a fine grind, while French press usually needs a coarse grind. The exact setting varies by grinder and coffee.
Changing several variables at once
If you change the dose, grind, water, and brew time together, you will not know what helped. Make one small change, taste the result, and record it.
Neglecting replacement parts
Filters, seals, burrs, carafe lids, and water tanks may wear out. Before buying a machine, check whether the maker lists parts and cleaning instructions for the United States.

Key Takeaways
- Start with a brewer that fits your daily routine.
- A consistent burr grinder is usually more valuable than extra accessories.
- Use a scale to measure coffee and water.
- Good-tasting water supports better coffee and can reduce equipment problems.
- Choose gear that is easy to clean and has available replacement parts.
- Change one brewing variable at a time.
- Follow the manufacturer’s manual for electrical safety, cleaning, and descaling.
Frequently Asked Questions
What coffee gear should a beginner buy first?
Start with a brewer, a burr grinder, a digital scale, and fresh coffee. Add a gooseneck kettle or dedicated storage container only when you know it will solve a real problem.
Is a burr grinder worth it?
For most coffee drinkers, yes. A burr grinder generally provides more consistent particle size than a blade grinder. That can make extraction easier to control.
Do I need an expensive coffee scale?
No. A basic gram scale with a tare function can work well. Espresso users may benefit from faster readings and 0.1-gram accuracy, but many drip and French press brewers can start with a simple kitchen scale.
Is a gooseneck kettle required for pour-over coffee?
No. It gives you more control over the water stream, but a standard kettle can work. Pour slowly and avoid disturbing the coffee bed too much.
Should coffee beans be stored in the refrigerator?
Usually, no. Refrigerators contain moisture and food odors. Store beans in an airtight container in a cool, dark cabinet instead.
How often should coffee equipment be cleaned?
Rinse brewing parts after each use. Clean grinders, brewers, and kettles more deeply as buildup appears or as the manufacturer recommends. Espresso machines need a model-specific cleaning plan.
Can I use distilled water in a coffee maker?
Do not assume it is suitable. Some machines require water with minerals for proper operation. Check the appliance manual and use water that tastes good and fits the maker’s requirements.
What is the best coffee gear for a small kitchen?
A compact hand grinder, a pour-over dripper, a small scale, and a kettle offer a capable setup with little storage space. An AeroPress-style brewer is another compact option.
Final Recommendation
Build your coffee gear around the way you already drink coffee. For most U.S. homes, the strongest starting setup is a reliable brewer, a burr grinder, a gram scale, and fresh beans stored away from heat and moisture. Improve water and cleaning next. Only then add specialized tools such as a gooseneck kettle or espresso accessories.
The goal is not to own the most equipment. It is to make a cup you can repeat, enjoy, and maintain.

One Comment