To clean a regular coffee maker, combine equal parts water and white vinegar, run a brew cycle, then follow with two rinse cycles of plain water.
As someone who's brewed countless cups and seen the good, bad, and ugly of coffee makers, I can tell you that a truly great cup of coffee starts long before the beans are ground – it begins with a clean machine. It's often overlooked, but knowing how to clean a regular coffee maker isn't just about hygiene; it directly impacts the flavor and longevity of your beloved appliance. I've personally experimented with various methods over the years, from quick rinses to deep decalcifications, and I'm here to share the most effective, simple, and reliable ways to ensure your morning brew is always fresh, flavorful, and free from funky tastes. Let's dive into making your coffee maker sparkle!
:strip_icc()/How_to_clean_coffeemaker_0220-Primary-d0c8d75c767a4d04a5b92b77d6db808c.jpg)
Understanding Why Cleaning Your Coffee Maker Matters
Many of us wake up and instinctively reach for that first cup of coffee, often without giving a second thought to the machine that makes it. But just like any appliance that handles food or drink, your coffee maker needs regular attention. Neglecting this crucial step can lead to more than just a funky-tasting brew; it can also affect your health and shorten the lifespan of your machine. It's a simple truth: a clean coffee maker is a happy coffee maker, and it makes delicious coffee.
The Hidden Truth: What's Lurking in Your Brewer?
It might surprise you, but studies have shown that coffee makers can harbor a surprising amount of germs, including mold and bacteria. The warm, damp environment inside the water reservoir and internal tubing is a perfect breeding ground for these unwanted guests. Over time, these microorganisms can build up, forming a slimy film that you might not even see but will definitely taste. This is why learning how to clean a regular coffee maker thoroughly is so important.
Impact on Taste and Health
Ever notice your coffee tasting a little off, maybe bitter or simply not as vibrant as it used to be? That's often the direct result of mineral buildup or bacterial contamination. Limescale, primarily calcium deposits from tap water, can clog internal components and impede the proper brewing temperature, leading to under-extracted, weak coffee. Worse yet, ingesting bacteria or mold can lead to digestive upset or allergic reactions for some individuals. A proper cleaning routine is key to ensuring both great taste and good health.
Extending Your Coffee Maker's Life
Beyond taste and hygiene, regular cleaning is vital for the longevity of your appliance. Mineral buildup acts like plaque in arteries, gradually restricting water flow and forcing the machine to work harder. This added strain can wear out pumps and heating elements prematurely, leading to costly repairs or the need for a new coffee maker altogether. By understanding how to clean a regular coffee maker consistently, you're investing in its future and saving money in the long run.
Essential Supplies for Cleaning Your Coffee Maker
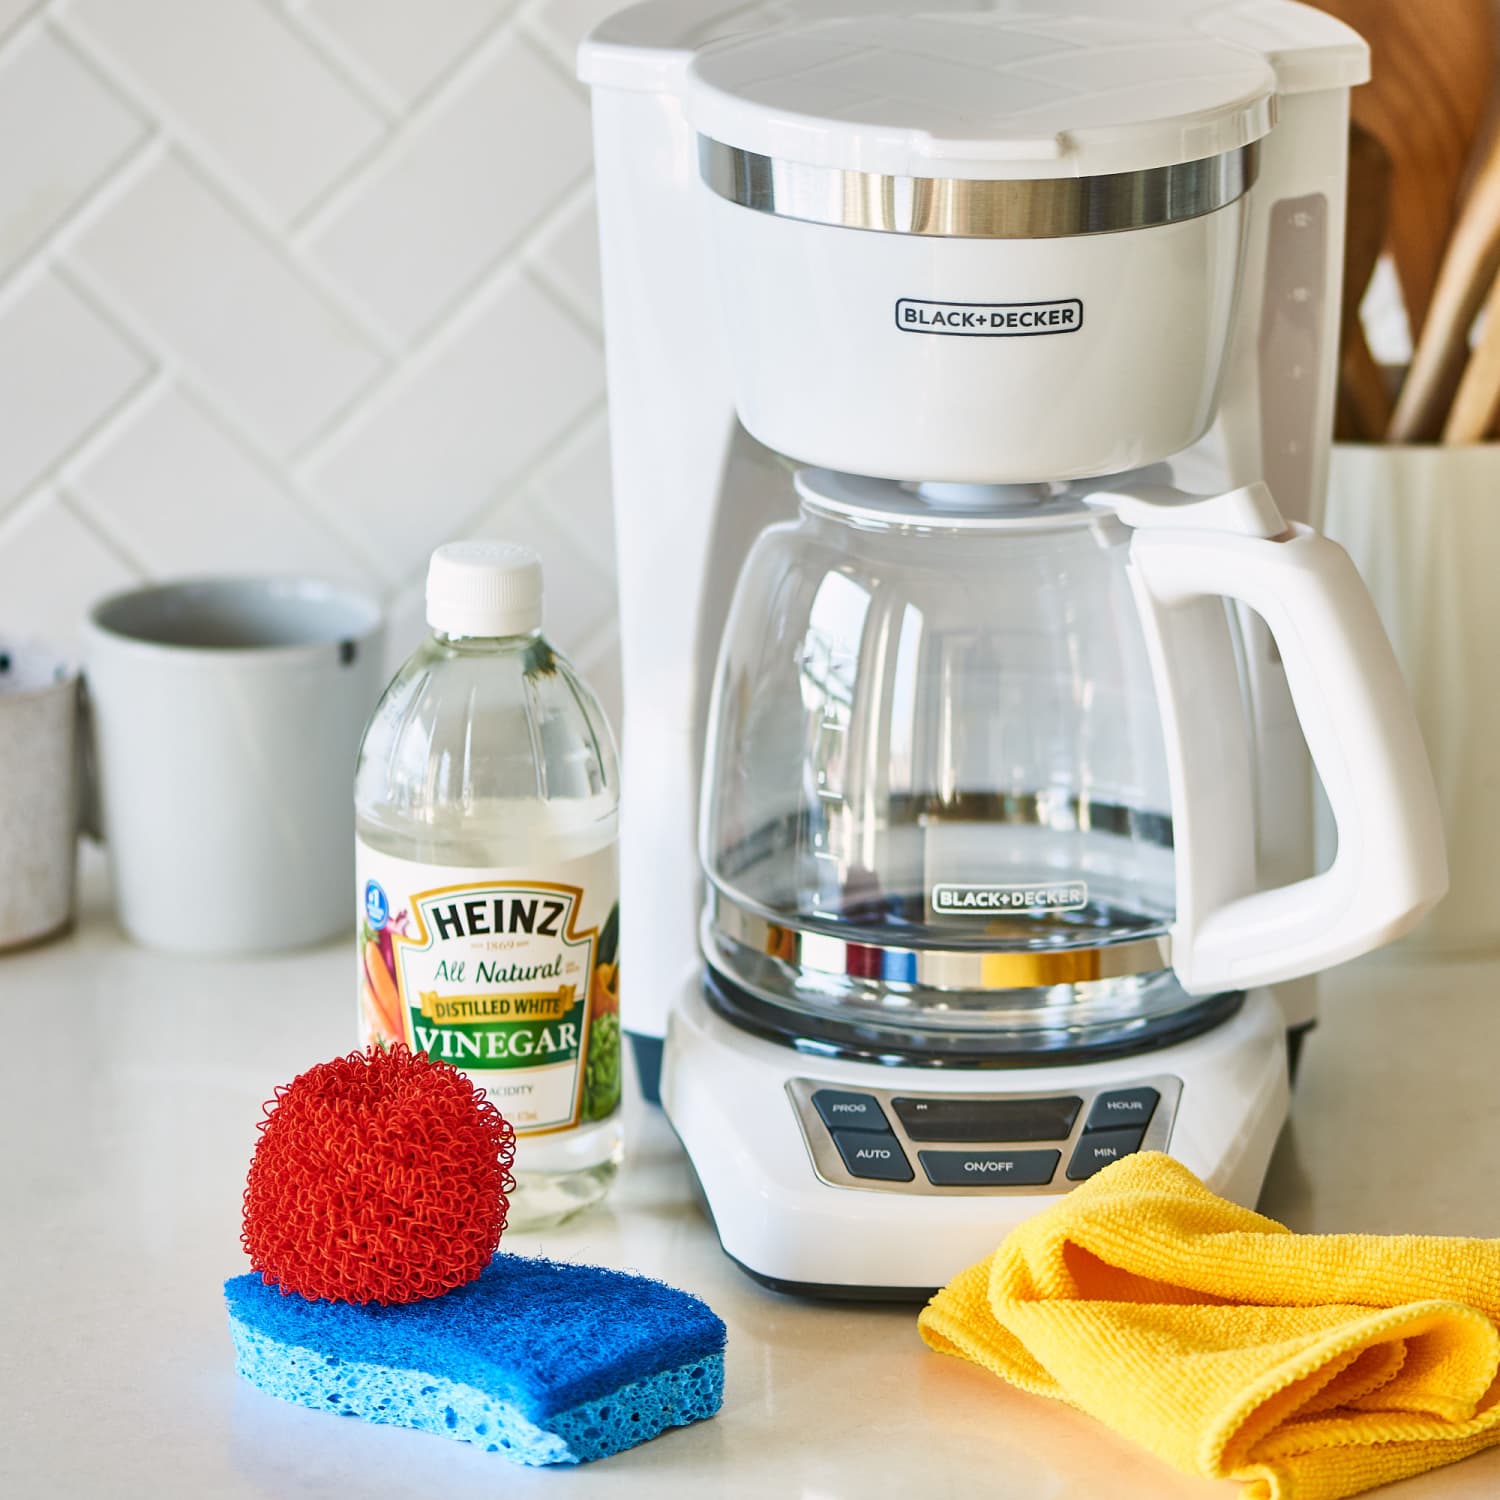
You don't need a cabinet full of specialized cleaners to get your coffee maker sparkling. In fact, some of the most effective tools are likely already in your pantry! My approach has always been to use simple, non-toxic household items that are tough on grime but gentle on your machine. This makes the process of how to clean a regular coffee maker accessible and safe.
The Power of White Vinegar
When it comes to decalcifying and disinfecting, white distilled vinegar is your best friend. Its mild acidity is fantastic at breaking down mineral deposits (limescale) and killing bacteria without leaving behind harsh chemical residues. It's affordable, readily available, and incredibly effective, making it the star of any coffee maker cleaning routine. I always recommend keeping a large bottle on hand specifically for cleaning tasks around the house, including giving your coffee maker some much-needed love.
Baking Soda: A Gentle Abrasive
For those stubborn coffee stains on the carafe or filter basket, baking soda is an excellent, non-toxic solution. When mixed with a little water to form a paste, its fine abrasive quality can scrub away residue without scratching surfaces. It also acts as a natural deodorizer, helping to eliminate any lingering stale coffee smells.
Other Handy Tools You'll Need
- Dish soap: For general washing of removable parts.
- Soft sponge or brush: To scrub the carafe and filter basket.
- Clean cloths or paper towels: For wiping down the exterior and drying parts.
- Warm water: For rinsing and dilution.
- Cotton swabs or small brushes: Useful for reaching into tight crevices around the brew head or water reservoir.
Source: affresh.com
Step-by-Step Guide: How to Clean a Regular Coffee Maker (Deep Clean)
Performing a deep clean on your coffee maker is a straightforward process that yields fantastic results. I've used this method countless times, and it consistently restores machines to their peak performance and cleanliness. This detailed guide will show you precisely how to clean a regular coffee maker thoroughly, ensuring every nook and cranny is addressed.
Preparation: Emptying and Disassembling
Before you begin, make sure your coffee maker is unplugged for safety.
- Remove any old coffee grounds: Dispose of them from the filter basket.
- Empty the carafe: Pour out any remaining coffee or water.
- Take out removable parts: This usually includes the filter basket, carafe, and sometimes the lid for the water reservoir. Set them aside for hand washing.
The Vinegar Rinse: Decalcifying Your Machine
This is the most critical step for breaking down mineral buildup and sanitizing the internal components.
- Fill the water reservoir: Combine equal parts white vinegar and water. For most standard coffee makers, this means about 4-6 cups of each.
- Place an empty filter: Insert a paper filter into the filter basket, or ensure your permanent filter is in place. This helps catch any loosened scale.
- Run a partial brew cycle: Turn on the coffee maker and let it run for about half of a brew cycle, typically until about half of the vinegar solution has dispensed into the carafe.
- Pause and soak: Turn off the coffee maker and let the vinegar solution sit in the reservoir and internal tubing for at least 30 minutes to an hour. For heavily scaled machines, you can let it soak for a few hours. This gives the vinegar time to work its magic on the mineral deposits.
- Complete the brew cycle: After soaking, turn the coffee maker back on and let the remaining vinegar solution finish brewing into the carafe.
- Discard the solution: Carefully pour out the vinegar solution from the carafe.
The Water Rinse: Flushing It All Out
This step is crucial to remove any lingering vinegar taste or smell. Trust me, you don't want a vinegar-flavored coffee!
- Rinse the carafe and filter basket: Give these a quick rinse under plain water.
- Fill the reservoir with fresh water: Fill the water reservoir completely with clean, plain water.
- Run a full brew cycle: Place the empty carafe back on the warming plate and run a full brew cycle with just water.
- Repeat the water rinse: Discard the water from the carafe and repeat the full brew cycle with fresh, plain water at least one or two more times. I usually do three full water cycles just to be absolutely sure there's no residual vinegar. This ensures your machine is ready for a perfect brew.
Cleaning Removable Parts by Hand
While the machine is running its rinse cycles, you can tackle the removable parts.
- Wash with soap and water: Use warm, soapy water and a soft sponge or brush to thoroughly clean the carafe, filter basket, and any other removable pieces. For stubborn coffee stains, a sprinkle of baking soda with a little water paste works wonders.
- Rinse thoroughly: Make sure to rinse all soap residue completely.
- Dry completely: Allow all parts to air dry, or dry them with a clean cloth, before reassembling. This prevents moisture buildup and discourages mold growth.
By following these steps, you've successfully learned how to clean a regular coffee maker and are well on your way to enjoying better-tasting coffee!
:max_bytes(150000):strip_icc()/6-coffee-maker-components-washed-separately-045ca3f7a9b14ec29aa07f32b3c9555f.jpg)
Source: foodandwine.com
Quick Daily Cleaning Tips for a Fresher Brew
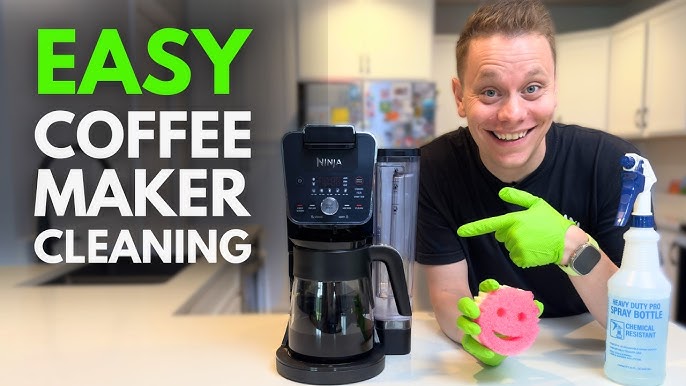
While a deep clean is essential every month, simple daily habits can make a huge difference in maintaining your coffee maker's hygiene and the taste of your coffee. Think of it as preventative maintenance; a little effort each day means less work later. These small steps are part of a holistic approach to how to clean a regular coffee maker effectively.
After Every Use: A Simple Rinse
This is perhaps the easiest and most impactful daily habit.
- Empty and rinse the carafe: As soon as it's empty, rinse the carafe with warm water. Don't let old coffee sit and dry inside, as this leads to stubborn stains and stale odors.
- Rinse the filter basket: Remove and rinse the filter basket (and permanent filter, if you use one) immediately after use. This prevents coffee grounds from drying and hardening, which are much harder to clean later.
Wiping Down the Exterior
A quick wipe-down keeps your kitchen looking tidy and prevents drips from hardening.
- Use a damp cloth: After brewing, use a damp cloth or paper towel to wipe down the exterior of the machine, including the warming plate and around the brew head. This removes any coffee splatters or water spots.
- Dry it off: Follow with a dry cloth to prevent water marks. These simple daily actions contribute significantly to knowing how to clean a regular coffee maker effectively in the long term.
Source: youtube.com
When to Clean Your Coffee Maker: A Schedule You Can Stick To
Consistency is key when it comes to coffee maker maintenance. Based on my years of experience, I've found that a regular cleaning schedule prevents major buildup and ensures your coffee always tastes its best. Establishing a routine for how to clean a regular coffee maker means you'll rarely face a truly grimy machine.
Weekly Light Cleaning
Once a week, perform a slightly more thorough cleaning than your daily routine.
- Wash removable parts thoroughly: Give the carafe, lid, and filter basket a good wash with warm, soapy water and a sponge.
- Wipe down the water reservoir: Using a damp cloth, wipe the inside of the water reservoir, paying attention to any visible residue or sliminess.
- Run a plain water cycle: As a quick refresh, run one full cycle with just plain water to flush out any loose particles or stagnant water.
Monthly Deep Cleaning
This is where the vinegar treatment comes in. For most households using their coffee maker daily, a monthly deep clean is ideal.
- Vinegar decalcification: Follow the step-by-step guide above for the full vinegar and multiple water rinse cycles. This addresses mineral buildup and disinfects the internal components. If you live in an area with particularly hard water, you might consider doing this every three weeks.
Signs Your Coffee Maker Needs Immediate Attention
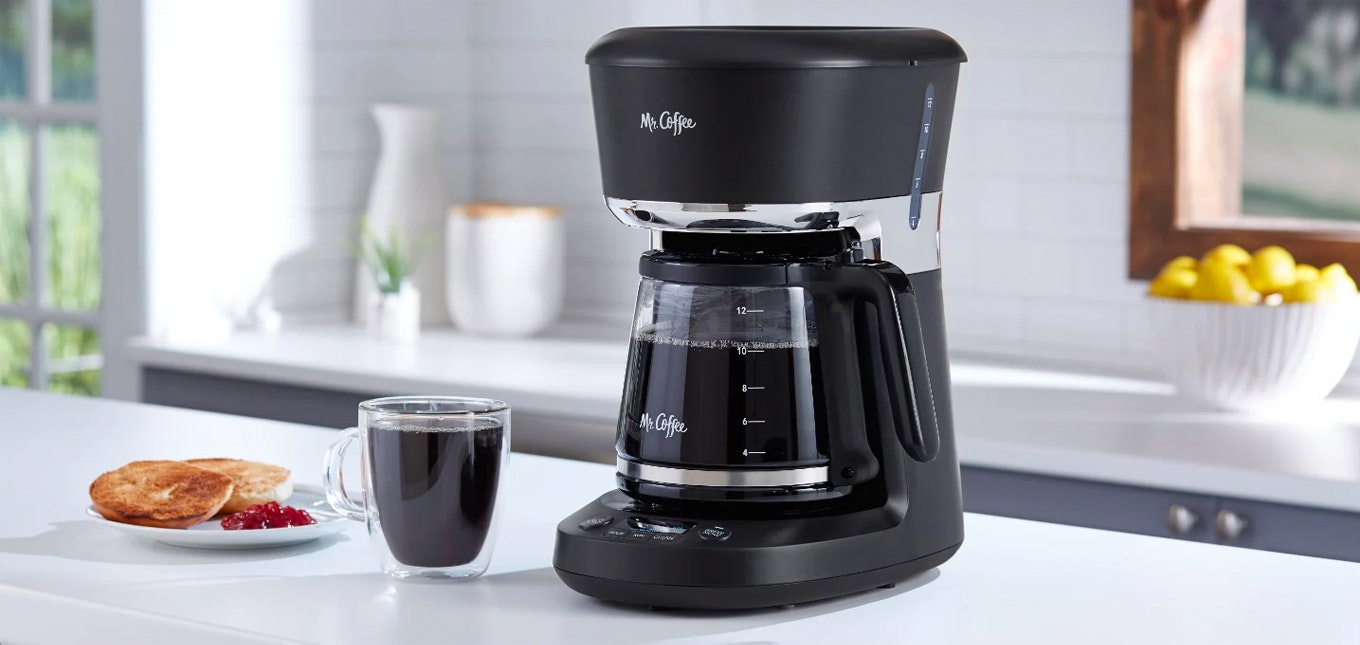
Sometimes, your coffee maker will give you clear signals that it needs a cleaning, even if it's not on your schedule.
- Slow brewing: If your coffee maker is taking longer than usual to brew a pot, it's a strong indicator of mineral buildup restricting water flow.
- Coffee tastes "off": A bitter, metallic, or generally unpleasant taste usually means it's time for a deep clean.
- Visible residue: If you see white, chalky deposits in the reservoir or black/brown film in the filter basket or carafe, clean it immediately.
- Unusual noises: Gurgling or straining sounds during brewing can suggest blockages caused by scale.
Paying attention to these signs ensures you're proactive about how to clean a regular coffee maker before problems escalate.
Source: mrcoffee.com
Common Mistakes to Avoid When Cleaning Your Coffee Maker
Even with the best intentions, it's easy to fall into common cleaning pitfalls that can actually harm your coffee maker or leave it less clean than you think. Learning how to clean a regular coffee maker also means knowing what not to do. I've seen these mistakes firsthand, and they often lead to frustration or damaged machines.
Using Harsh Chemicals
It might seem tempting to reach for bleach or strong kitchen cleaners to disinfect, but resist the urge!
- Residue risk: These chemicals can leave behind harmful residues that are difficult to rinse completely, potentially contaminating your coffee.
- Damage to components: Harsh chemicals can also corrode plastic or rubber parts within your coffee maker, shortening its lifespan. Stick to gentle, food-safe options like vinegar and dish soap.
Ignoring the Carafe and Filter Basket
Some people focus solely on the internal workings, forgetting the parts that directly hold coffee and grounds.
- Stale flavor: Old coffee residue on the carafe or filter basket can impart a stale, bitter flavor to fresh coffee, even if the internal components are clean.
- Mold growth: Moisture combined with residual coffee grounds in the filter basket is a prime environment for mold to flourish. Always clean these parts thoroughly after each use.
Not Rinsing Thoroughly Enough
This is a common oversight after a vinegar cleaning cycle.
- Vinegar taste: If you don't run enough plain water cycles after the vinegar solution, your next pot of coffee will likely taste strongly of vinegar, which is far from enjoyable.
- Soap residue: Similarly, if you don't rinse the carafe and filter basket completely after washing with dish soap, you'll end up with soapy-tasting coffee. Patience with rinsing is a virtue when learning how to clean a regular coffee maker.
/How_to_clean_coffeemaker_0220-Primary-d0c8d75c767a4d04a5b92b77d6db808c.jpg)
Source: bhg.com
Benefits of a Squeaky Clean Coffee Maker
Beyond the immediate satisfaction of a sparkling appliance, maintaining a clean coffee maker offers a wealth of benefits that enhance your daily coffee ritual. It's truly amazing how much difference a little cleaning can make. Understanding how to clean a regular coffee maker properly unlocks these advantages.
First and foremost, a clean coffee maker delivers superior coffee flavor. Without mineral buildup or stale coffee residue, your beans can truly shine, allowing their intended aromas and tastes to come through beautifully. You'll notice a richer, smoother, and more authentic coffee experience, just as the roaster intended.
Secondly, you're looking at improved hygiene and health. Eliminating mold, bacteria, and limescale buildup means you're brewing coffee in a sanitary environment, reducing the risk of consuming unwanted microorganisms. This peace of mind is invaluable, especially for daily coffee drinkers.
Another significant advantage is extended appliance lifespan. Regular decalcification and cleaning prevent internal components from becoming clogged or overworked. This reduces wear and tear on pumps and heating elements, meaning your beloved coffee maker will last much longer, saving you money on replacements and repairs.
Finally, a clean coffee maker often means faster and more efficient brewing. Unclogged water lines allow water to flow freely and heat to the optimal temperature more quickly, ensuring your coffee is brewed properly and at the ideal pace. This results in a consistently better cup, making the effort of how to clean a regular coffee maker truly worthwhile.
:max_bytes(150000):strip_icc()/oxo-drip-coffee-maker-review-6d5d9754a16746efa846468f1941adaa.jpg)
Frequently Asked Questions of How to Clean a Regular Coffee Maker?
Can I use anything other than vinegar to decalcify my coffee maker?
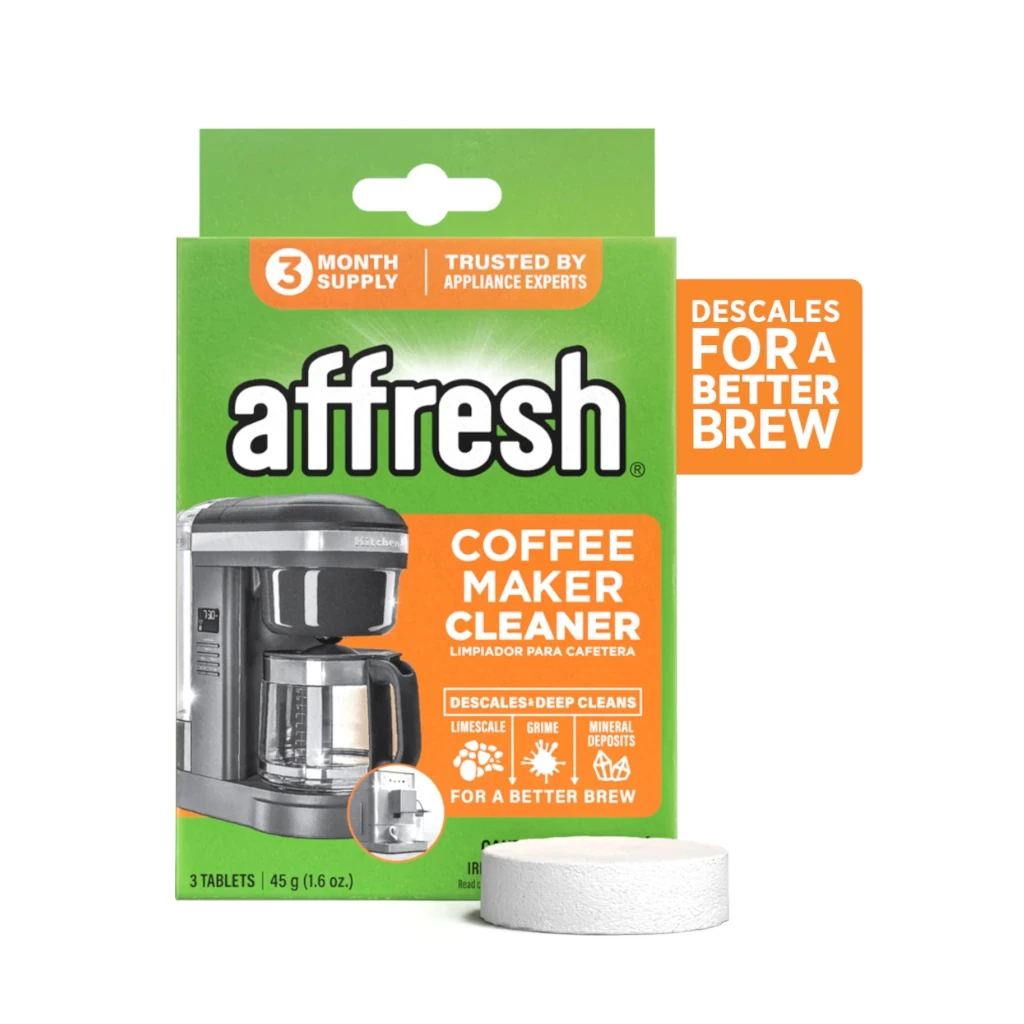
Yes, you can use specialized coffee maker descaling solutions, which are often more concentrated and may work faster. Some people also use citric acid (often found as a powder in baking aisles), dissolving a tablespoon in a liter of water.
How often should I deep clean my coffee maker?
For daily users, a monthly deep clean with vinegar or descaling solution is recommended. If you have particularly hard water, you might need to clean it every 2-3 weeks, or if you only use it occasionally, every 2-3 months might suffice.
Is it safe to run just water through my coffee maker daily?
Yes, running plain water through your coffee maker daily is perfectly safe and a good practice. It helps flush out any standing water and loose coffee residue, contributing to overall hygiene and preventing stale tastes.
Why does my coffee still taste bad after cleaning?
If your coffee still tastes off, ensure you've done enough water rinse cycles after descaling to remove all vinegar residue. Also, check the quality of your coffee beans, water, and make sure your coffee maker's filter basket and carafe are thoroughly cleaned.
Can I put coffee maker parts in the dishwasher?
Many removable coffee maker parts, like the carafe and filter basket, are top-rack dishwasher safe, but always check your specific manufacturer's instructions. The main unit of the coffee maker should never be submerged in water or put in the dishwasher.
Conclusion
Mastering how to clean a regular coffee maker is a simple yet incredibly impactful habit that elevates your daily coffee experience. By regularly decalcifying with white vinegar, thoroughly rinsing, and maintaining daily cleanliness, you're not just ensuring hygienic brewing; you're actively preserving the rich flavor of your coffee and extending the life of your appliance. It's a small investment of time that pays dividends in deliciousness and reliability. So, take a few moments this week to give your coffee maker the attention it deserves. Your taste buds, and your wallet, will thank you. For more tips on keeping your kitchen gadgets in top shape, check out our other guides!