Regularly cleaning your Bissell vacuum ensures optimal performance and extends its lifespan.
Maintaining a clean and efficient home is a top priority for many, and at the heart of that effort lies a reliable vacuum cleaner. As someone who has spent years understanding the intricacies of home appliance care, I can attest that neglecting your Bissell vacuum cleaner can significantly hinder its performance, leading to weaker suction, unpleasant odors, and a drastically shortened lifespan. This comprehensive guide will walk you through the precise steps on how to clean a Bissell vacuum cleaner, transforming it from a dirt-clogged tool into a powerful ally against dust and debris. You'll gain the expertise to keep your machine running like new, ensuring your floors stay spotless for years to come.

Why Cleaning Your Bissell Vacuum is Essential
Many people don't realize that a vacuum cleaner, designed to remove dirt, can itself become a breeding ground for dust mites, allergens, and unpleasant odors if not properly maintained. Think about it: every crumb, every pet hair, and every speck of dust passes through its intricate system. Over time, these particles accumulate, clogging filters, tangling brush rolls, and suffocating the motor.
Regularly cleaning your Bissell vacuum cleaner isn't just about aesthetics; it's about preserving its functionality and ensuring a truly clean home environment. A clean vacuum maintains optimal suction power, making your cleaning efforts far more effective. It also prevents the recirculation of dust and allergens back into your air, promoting better indoor air quality. From my experience, a well-maintained Bissell vacuum also lasts significantly longer, saving you money on costly repairs or early replacements. It's a small investment of time that pays huge dividends in performance and longevity.
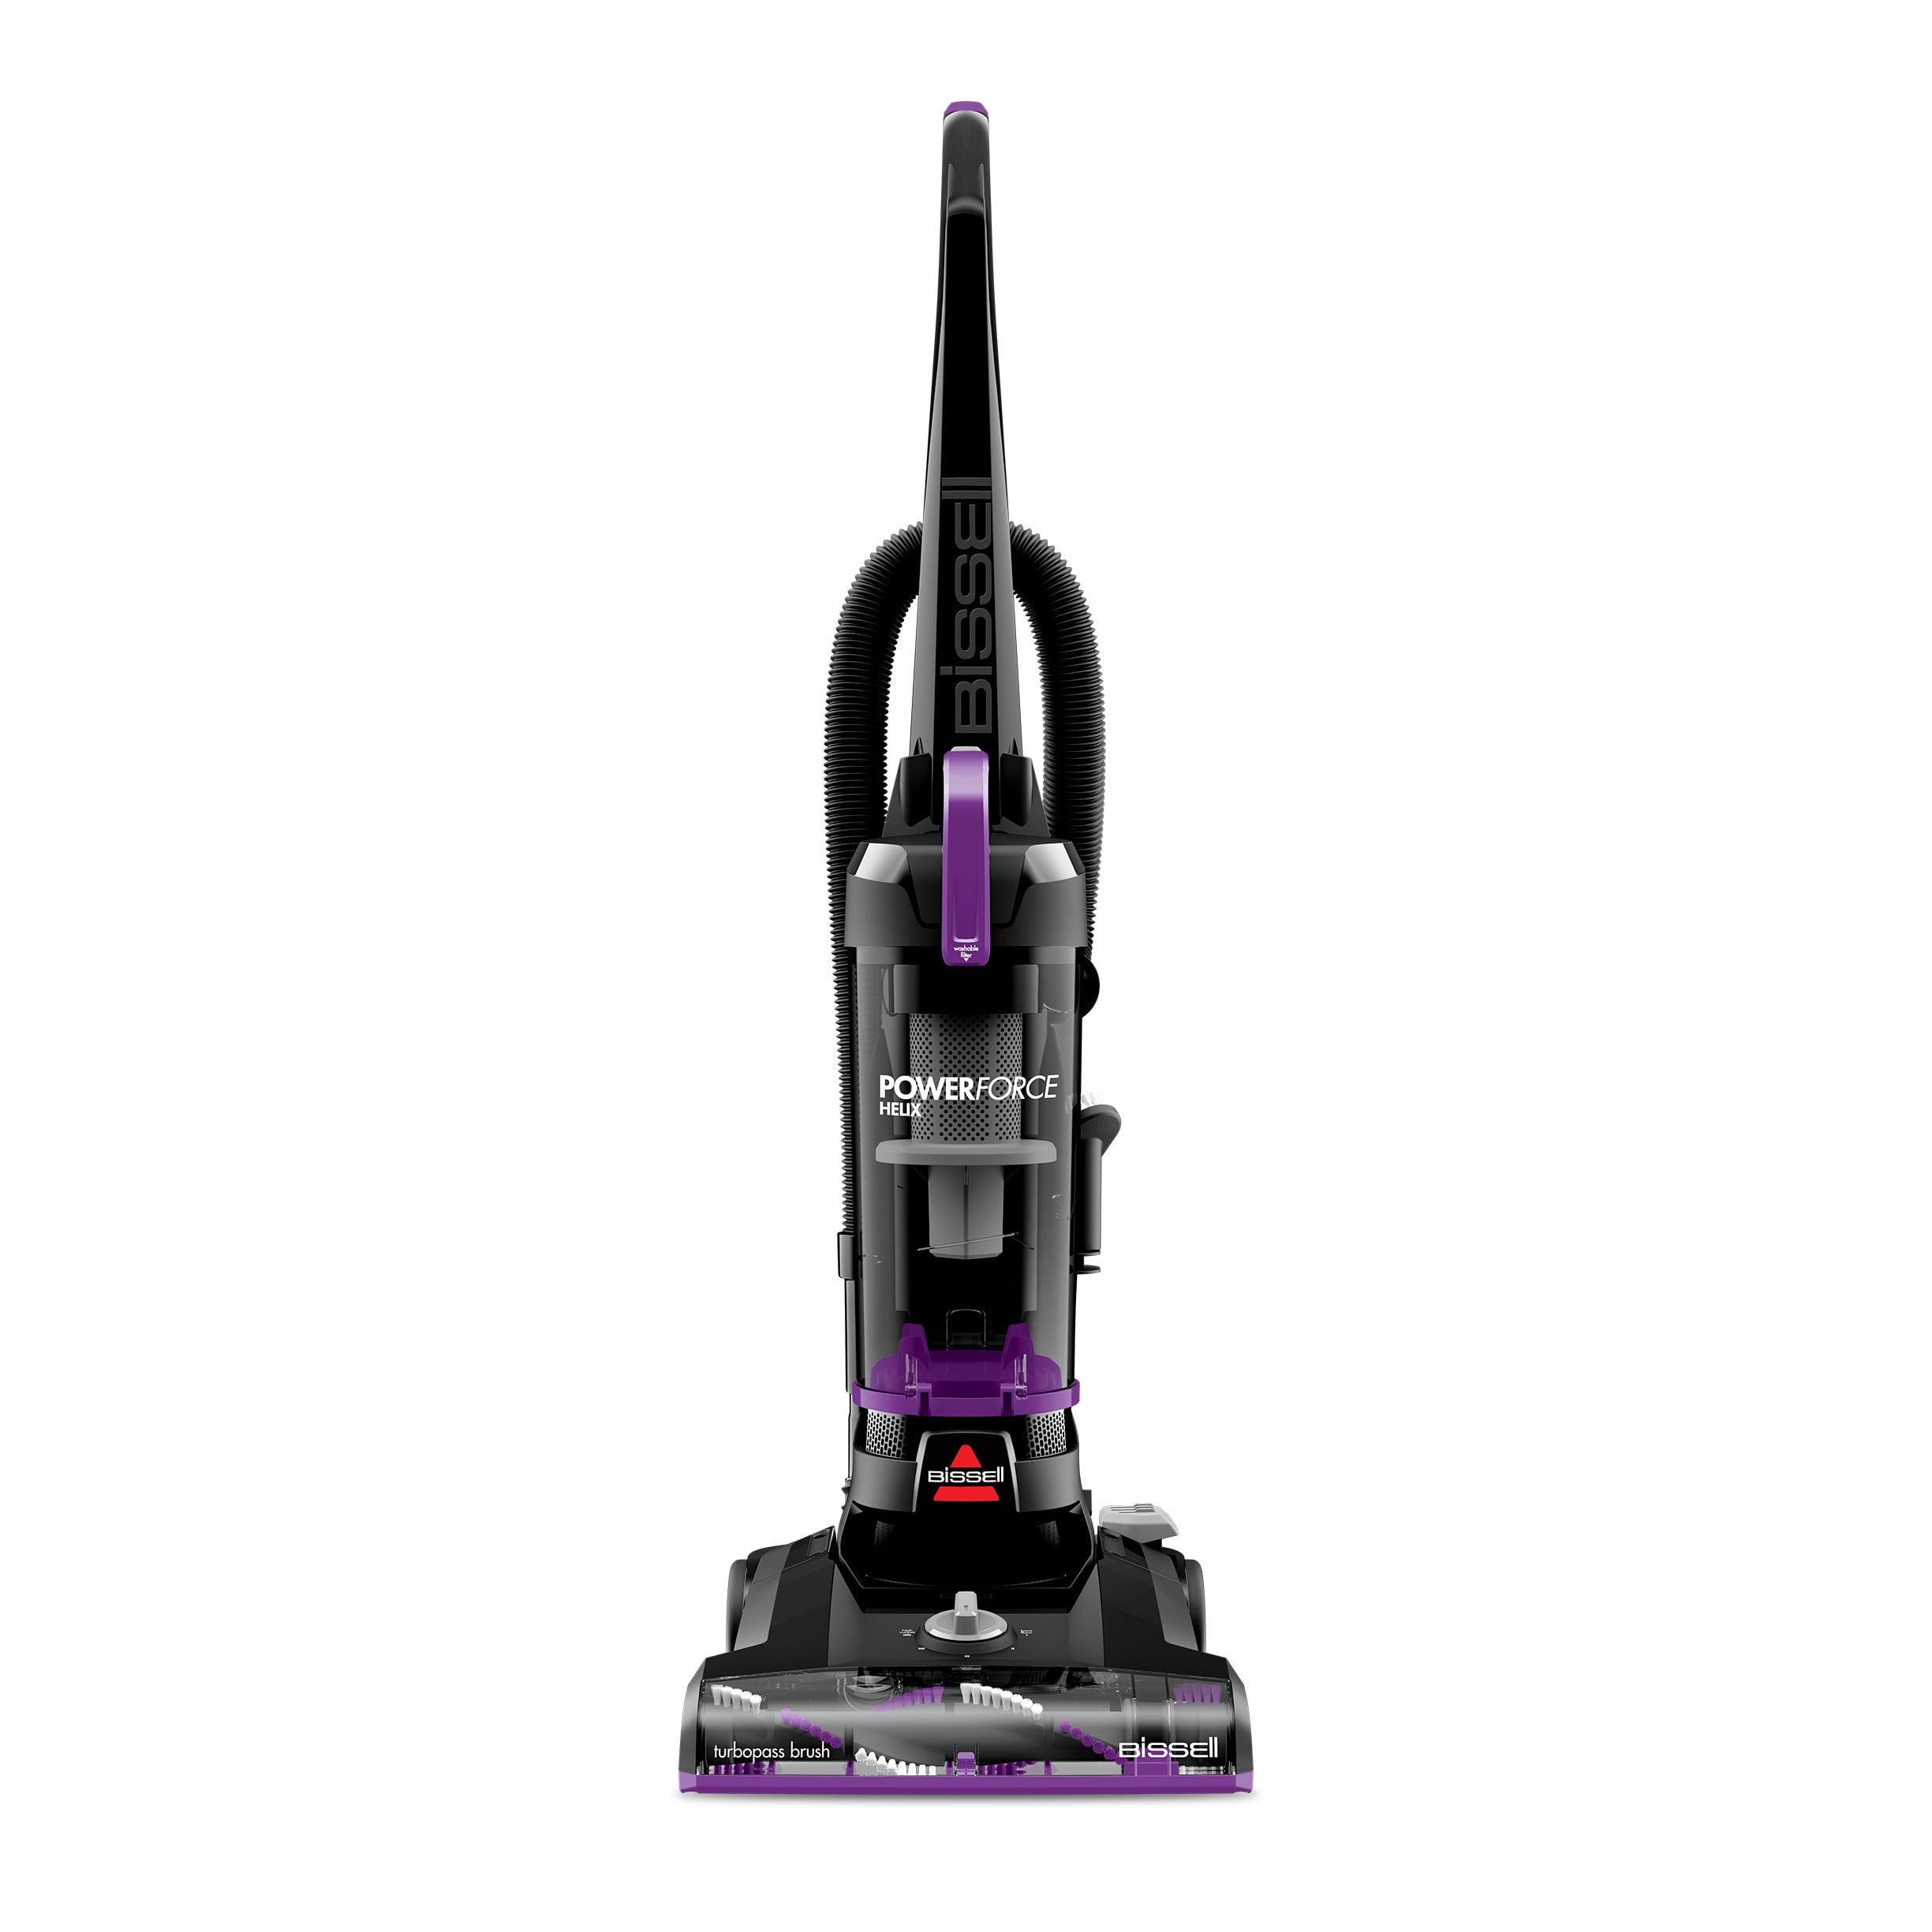
Gathering Your Cleaning Arsenal
Before you dive into the nitty-gritty of how to clean a Bissell vacuum cleaner, it’s crucial to gather all the necessary tools. Having everything at hand will streamline the process and ensure you don’t miss any crucial steps. You likely have most of these items around your house already.
Here's what you'll need:
- Microfiber cloths: Ideal for wiping down surfaces without scratching.
- Small brush or old toothbrush: Perfect for dislodging trapped dirt and debris in tight spots.
- Mild dish soap: A small amount mixed with water is effective for cleaning washable parts.
- Warm water: For rinsing and cleaning components.
- Scissors or seam ripper: Indispensable for cutting away tangled hair and threads from the brush roll.
- Screwdriver (optional): Some Bissell models may require one to access certain components, like the brush roll.
- Trash can or bag: For easily disposing of accumulated dirt.
- Protective gloves (optional): If you prefer not to touch the grime directly.
With these simple tools, you're well-equipped to give your Bissell vacuum the thorough cleaning it deserves.

Step-by-Step Guide: How to Clean a Bissell Vacuum Cleaner
Cleaning your Bissell vacuum doesn't have to be daunting. By breaking it down into manageable steps, you'll find the process quite straightforward and rewarding. Remember to always unplug your vacuum cleaner before you begin any cleaning or maintenance to ensure your safety.
Emptying and Cleaning the Dirt Tank
This is often the first and most frequent step in maintaining your Bissell vacuum cleaner. A full dirt tank drastically reduces suction.
- Remove the dirt tank: Locate the release button or latch on your vacuum cleaner and carefully detach the dirt tank.
- Empty contents: Position the tank over a trash can and press the release button to open the bottom lid, emptying all the accumulated dust and debris.
- Rinse thoroughly: For a deeper clean, rinse the dirt tank with warm water. You can add a drop of mild dish soap for stubborn grime, but ensure you rinse it completely to avoid any residue.
- Dry completely: This step is critical. Allow the dirt tank to air dry for at least 24 hours, or until it's completely dry, to prevent mold or mildew growth and protect the vacuum's motor.
Tackling the Filters
Bissell vacuums typically have multiple filters that trap fine dust and allergens. Cleaning these is paramount for maintaining air quality and suction.
- Locate filters: Refer to your user manual to find the pre-motor filter (often foam or pleated, washable) and the post-motor filter (sometimes pleated, often non-washable and needs replacement).
- Clean pre-motor filter: If your filter is washable, tap it against a trash can to remove loose debris, then rinse it under warm water until the water runs clear. Gently squeeze out excess water.
- Dry washable filters: Just like the dirt tank, washable filters must be completely dry before reinserting them. This can take 24-48 hours. Using a damp filter can severely damage the motor.
- Check post-motor filter: Non-washable filters usually just need to be tapped clean. If it looks very discolored or significantly clogged, it's time to replace it. A good rule of thumb is to replace these every 3-6 months, depending on usage.
Revitalizing the Brush Roll
The brush roll is the workhorse of your vacuum, picking up debris from carpets and hard floors. It’s also a magnet for hair and strings.
- Access the brush roll: Turn the vacuum cleaner upside down. You might need to unlatch or unscrew a cover plate to expose the brush roll.
- Remove tangled debris: Use scissors or a seam ripper to carefully cut away any tangled hair, threads, or fibers from the brush bristles and ends. Be careful not to cut the bristles themselves.
- Inspect for damage: Check if the bristles are worn down or if the belt driving the brush roll is damaged or stretched. Replace the brush roll or belt if necessary.
- Clean the brush roll housing: Use a microfiber cloth to wipe away any dust or grime from the area surrounding the brush roll. Can you wash a Bissell vacuum brush roll? While some can be gently wiped with a damp cloth, submerging most brush rolls in water is not recommended as it can damage bearings or cause rust. Focus on cutting away tangles and wiping the surface clean.
Clearing Hoses and Attachments
Clogs in the hose or attachments can drastically reduce suction and are a common culprit for poor performance.
- Detach hose and attachments: Remove the main hose and any other accessories like crevice tools or upholstery brushes.
- Check for clogs: Visually inspect the hose by looking through it. If you see a blockage, use a broom handle or a long, blunt object to gently push it through. Never use sharp objects that could puncture the hose.
- Rinse washable attachments: Smaller attachments can be rinsed under warm water, using a small brush to remove trapped dirt. Again, ensure they are completely dry before reattaching.
Wiping Down the Exterior
A quick wipe-down makes your vacuum look as good as it performs.
- Use a damp cloth: Lightly dampen a microfiber cloth with water (and a tiny amount of mild soap, if needed) and wipe down the exterior surfaces of your Bissell vacuum cleaner.
- Dry completely: Go over all wiped areas with a dry cloth to prevent water spots and ensure no moisture remains.
How often should I clean my Bissell vacuum? For optimal performance, empty the dirt tank after every use, clean filters monthly, and deep clean the brush roll and hoses every 3-6 months, depending on how frequently you use your vacuum and if you have pets.
Troubleshooting Common Cleaning Issues
Even with a thorough cleaning, sometimes you might encounter lingering issues. These tips come from years of practical experience and can help resolve those stubborn problems.
A common complaint after cleaning is a lingering odor. What if my Bissell vacuum still smells after cleaning? This often means a hidden pocket of debris, pet dander, or even mildew has been missed. Double-check all filters, the interior of the dirt tank, and thoroughly inspect the hose for any embedded organic material. Sometimes, a sprinkle of baking soda inside the dry dirt tank for a few hours (then emptied) can absorb residual smells. Another frequent issue is reduced suction despite cleaning. This usually points to an overlooked clog in the hose, a damp filter being reinserted, or a damaged belt on the brush roll. Always ensure all components are completely dry before reassembly to avoid motor damage and mildew growth. Patience and a systematic re-check of each component are key.

Maintenance Tips to Keep Your Bissell Sparkling
Cleaning your Bissell vacuum cleaner is a great start, but ongoing maintenance is what truly extends its life and keeps it performing at its peak. Think of it as a preventative health plan for your appliance.
- Empty the dirt tank frequently: Don't wait until it's overflowing. Emptying it after every significant use prevents compaction and maintains optimal suction.
- Check filters regularly: Make it a habit to inspect your filters every few uses. A quick tap can dislodge loose dust, extending the time between full washes or replacements.
- Avoid vacuuming wet messes: Unless your Bissell is specifically designed for wet/dry cleaning, steer clear of liquids. This can severely damage the motor and electronic components.
- Don't vacuum large objects: Coins, paper clips, or small toys can get lodged in the hose or damage the brush roll and motor. Do a quick visual scan of your floor before vacuuming.
- Store properly: Keep your Bissell vacuum cleaner in a clean, dry place to prevent dust accumulation and moisture damage.
- Regularly inspect the brush roll: A quick check for tangled hair or debris before you start vacuuming can prevent clogs and maintain efficient cleaning.
By incorporating these simple habits, you'll significantly reduce the need for deep cleaning and ensure your Bissell vacuum remains a reliable tool for keeping your home spotless.

Frequently Asked Questions (FAQs)
How often should I clean my Bissell vacuum filters?
Washable pre-motor filters should be rinsed monthly or every 4-6 uses, depending on how often you vacuum and if you have pets. Non-washable post-motor filters should be tapped clean regularly and replaced every 3-6 months.
Can I put Bissell vacuum parts in the dishwasher?
No, most Bissell vacuum parts, including dirt tanks, filters, and brush rolls, are not dishwasher safe. The high heat can warp plastic and damage electronic components or delicate filter materials.
What kind of soap should I use to clean my Bissell vacuum?
A small amount of mild dish soap mixed with warm water is perfectly safe for cleaning washable plastic parts like the dirt tank. Avoid harsh chemical cleaners or abrasive sponges.
How long does it take for Bissell vacuum filters to dry?
Washable filters typically need 24-48 hours to air dry completely. It is crucial they are bone-dry before reinserting them into the vacuum to prevent mold growth and motor damage.
Why is my Bissell vacuum losing suction after cleaning?
If your Bissell vacuum loses suction after cleaning, first ensure all filters are completely dry. Then, check for any missed clogs in the hose or attachments, or inspect the brush roll and belt for damage.
Is it okay to use water to clean the brush roll?
It's generally not recommended to submerge most Bissell vacuum brush rolls in water, as this can damage bearings or cause rust. Instead, use scissors to remove tangled debris and wipe the surface with a damp cloth if necessary.
Conclusion
Taking the time to regularly clean your Bissell vacuum cleaner is one of the most impactful ways to preserve its performance and extend its life. By following the detailed steps we’ve covered, from emptying the dirt tank to revitalizing the brush roll and tackling filters, you're not just cleaning an appliance—you're investing in a cleaner home and smarter upkeep. This process, while seemingly a chore, quickly becomes a rewarding habit, ensuring your vacuum maintains its powerful suction and continues to capture allergens effectively. Don't let dust and debris diminish your vacuum's potential; put these tips into practice today! Share your own cleaning hacks in the comments below, or check out Bissell's official website for model-specific care instructions.