Finishing a wood coffee table involves sanding, staining/sealing, and applying a protective topcoat for beauty and durability. Transforming a dull or damaged coffee table into a stunning centerpiece is one of the most rewarding woodworking projects you can undertake. As someone who has spent countless hours restoring forgotten pieces, I can tell you that understanding how to finish a wood coffee table properly is a game-changer. This comprehensive guide will walk you through every step, ensuring your finished table not only looks fantastic but also stands the test of time, reflecting your craftsmanship and attention to detail.
Why Finishing Your Wood Coffee Table Matters
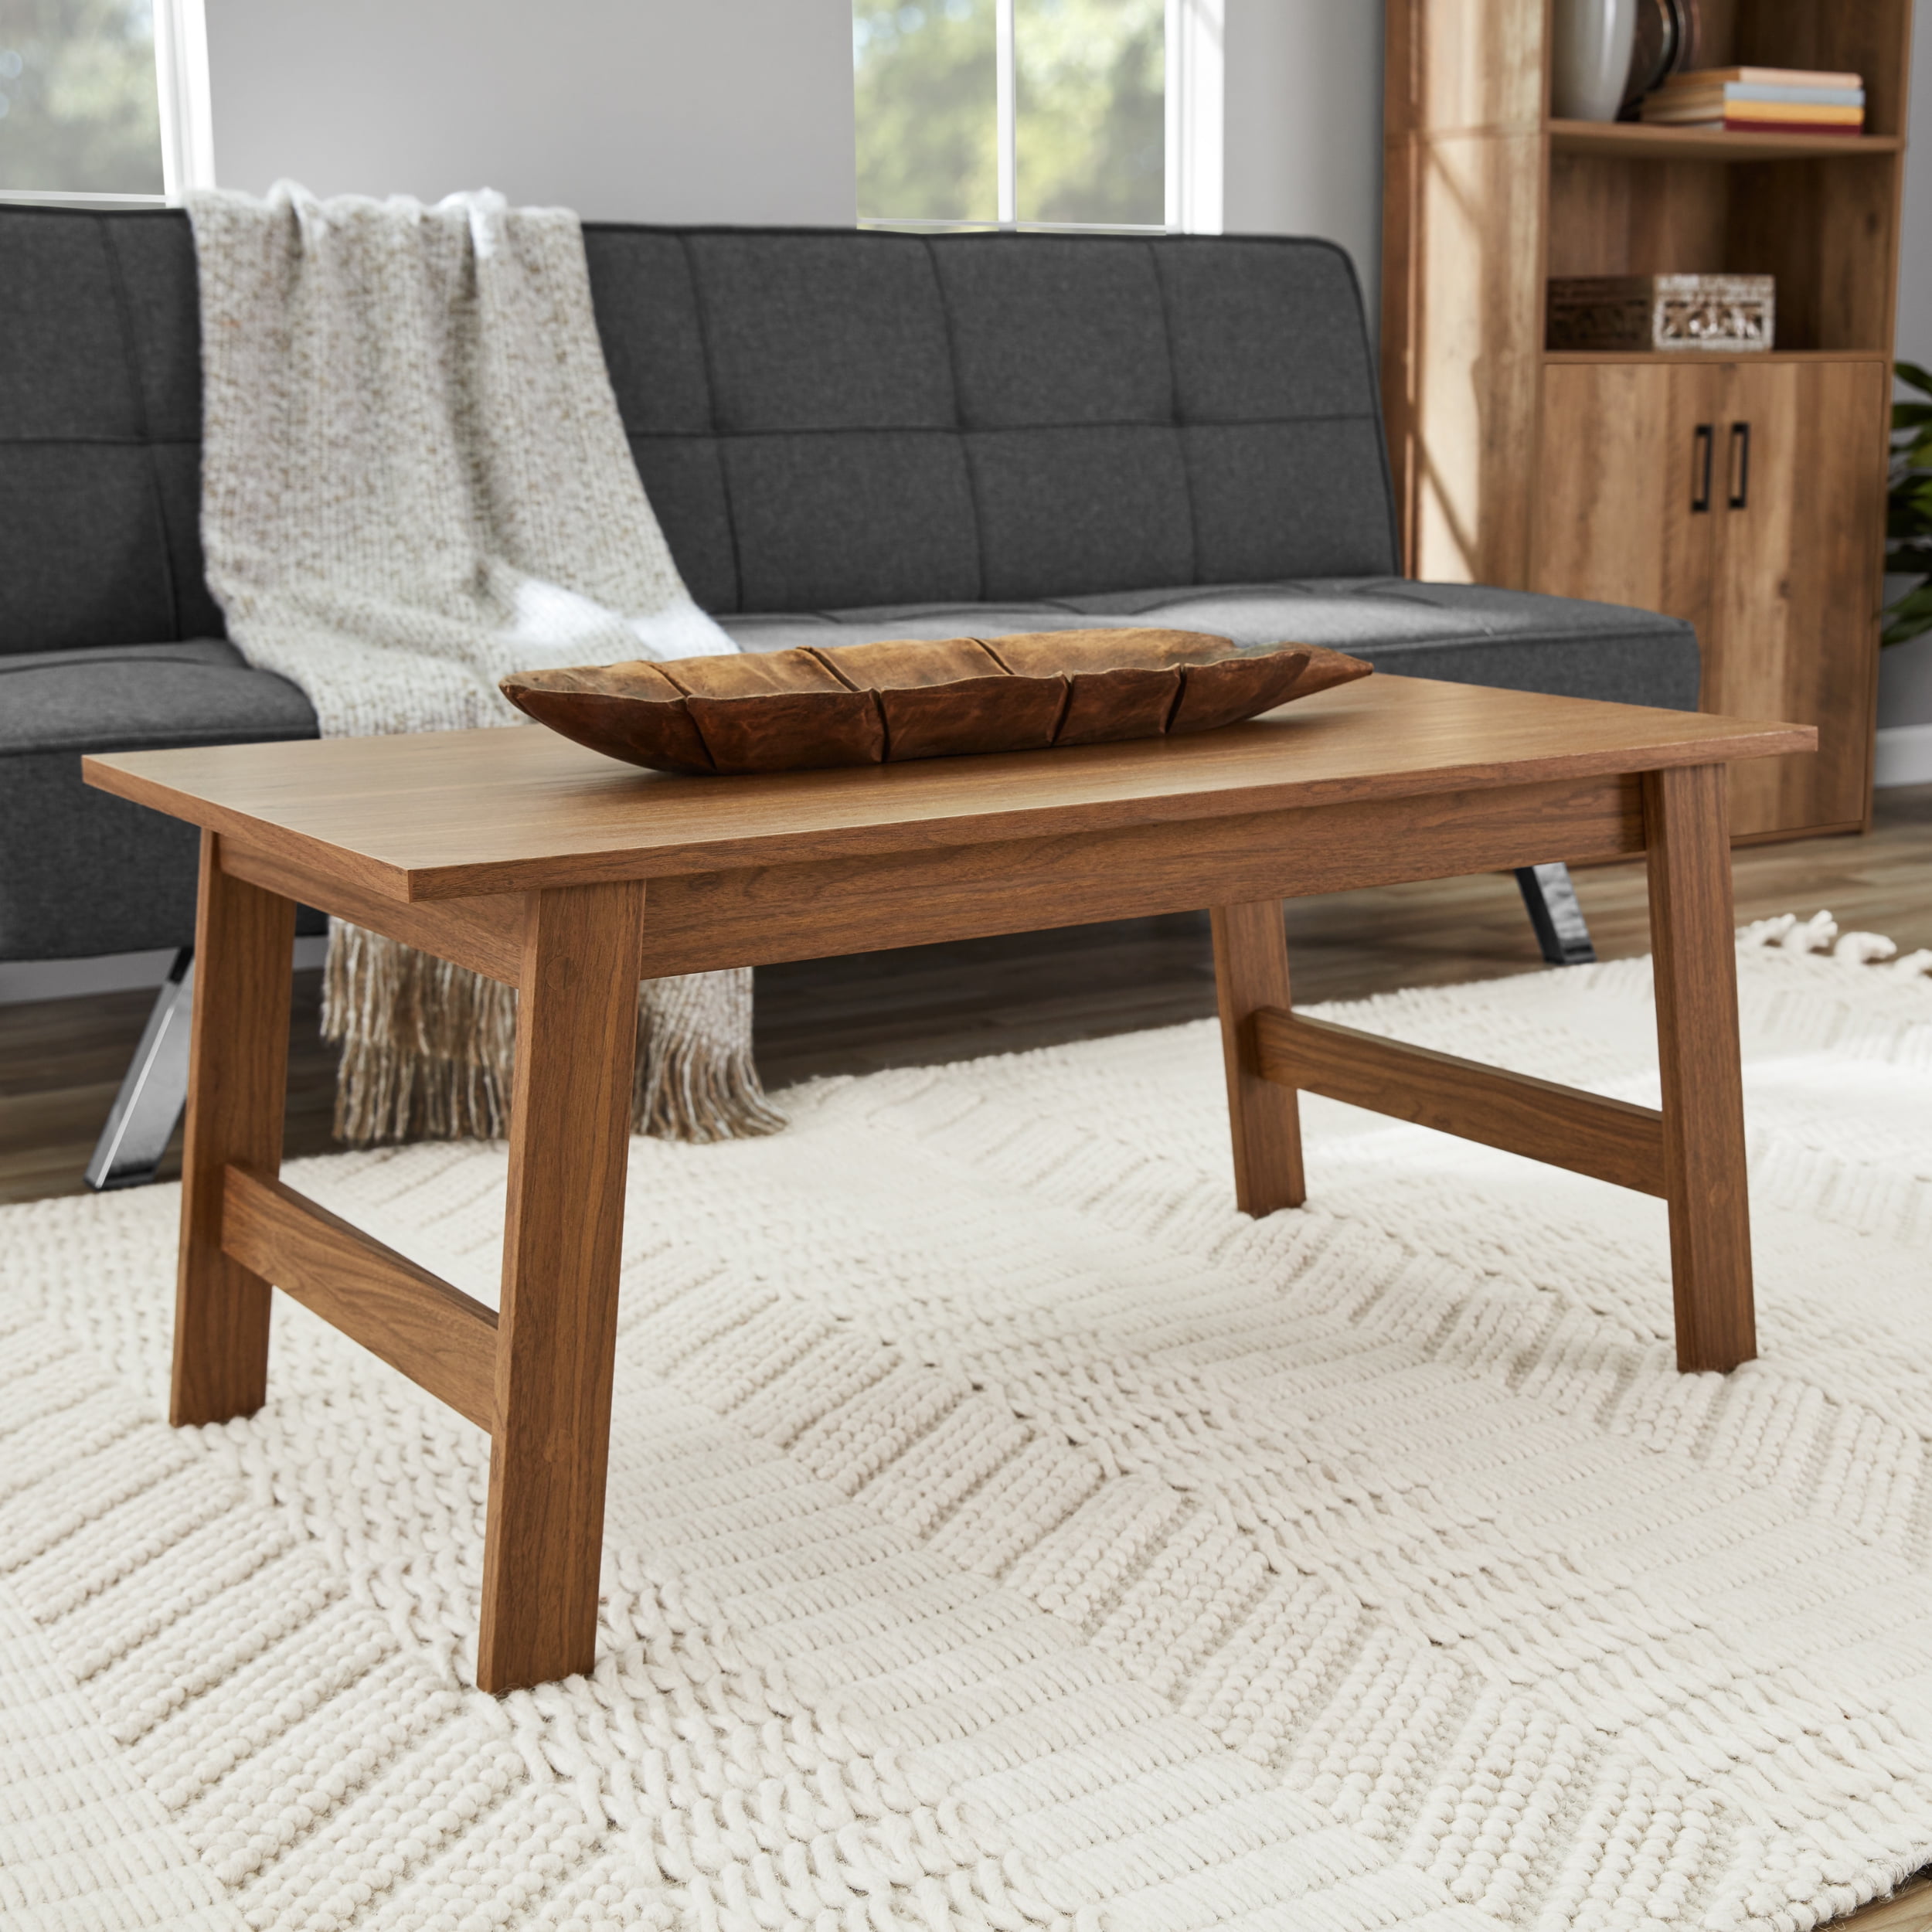
Finishing a wood coffee table isn't just about making it look pretty; it's about safeguarding your investment and enhancing its functional life. Think about it: your coffee table is often a high-traffic item in your home, exposed daily to spills, scuffs, and general wear and tear. A well-applied finish acts as a shield, preventing moisture from seeping into the wood, protecting against scratches, and making it easier to clean.
Beyond protection, the right finish drastically improves the aesthetics. It can bring out the natural beauty of the wood grain, deepen its color, or even completely change its look to match your evolving home decor. In my own experience, I've seen how a thoughtful finish can elevate a simple piece of wood into a conversation starter, making the space feel more cohesive and inviting. Moreover, by learning how to finish a wood coffee table yourself, you add a layer of personal satisfaction that store-bought furniture simply can't offer. It's a tangible testament to your effort and skill, increasing its perceived value and longevity.
Gathering Your Tools and Materials
Before you dive into the exciting part of finishing your wood coffee table, setting up your workspace and gathering all necessary supplies is crucial. This proactive step ensures a smooth, uninterrupted process and helps you achieve professional-looking results. Rushing this stage often leads to frustrations and subpar finishes.
Here’s a checklist of what you'll typically need to effectively finish a wood coffee table:
- Safety Gear: Always prioritize your safety.
- Nitrile gloves (for stain and finish application).
- Dust mask or respirator (for sanding and fumes).
- Safety glasses (to protect your eyes).
- Sanding Supplies:
- Orbital sander (highly recommended for efficiency) or sanding block.
- Assorted sandpaper grits: Start with coarser grits like 80 or 100 for heavy removal, then progress through 120, 150, 180, and finally 220 grit for a smooth surface. You might even go to 320 or 400 for a super fine finish before the final topcoat.
- Cleaning Essentials:
- Tack cloth (to remove fine dust particles).
- Mineral spirits or denatured alcohol (for wiping down the wood before finishing).
- Clean, lint-free rags.
- Stain or Dye (Optional):
- Wood stain (oil-based, water-based, or gel stain – choose based on desired look and ease of application).
- Pre-stain wood conditioner (essential for preventing blotchiness on softwoods like pine or maple).
- Protective Topcoat: This is the ultimate shield for your coffee table.
- Polyurethane (oil-based for durability and warmth, water-based for quicker drying and less odor).
- Varnish, lacquer, shellac, or even a hard wax oil (each offers different properties and appearances).
- Applicators:
- High-quality brushes (for stain and topcoat).
- Foam brushes or pads (good for smooth finish application).
- Clean rags or cotton applicators (for wiping off excess stain).
- Workspace Protection:
- Drop cloths or old sheets (to protect your floor and surrounding area).
Having everything within reach before you start will make the process of how to finish a wood coffee table much more enjoyable and efficient.

Step-by-Step Guide: How to Finish a Wood Coffee Table
Now for the hands-on part! This section will walk you through the essential steps to beautifully finish a wood coffee table, from initial cleaning to applying the final protective layers. Patience and attention to detail at each stage are key to achieving a professional and durable finish.
Preparation is Key: Cleaning and Repairs
The success of your finish hinges largely on how well you prepare the wood. Start by thoroughly cleaning your coffee table. Use a damp cloth to wipe away any dust, dirt, or grime. For stubborn residue, a mild soap and water solution can be used, followed by a clear water rinse and thorough drying. Once clean, inspect the table carefully for any damage. Small dents can often be raised with a damp cloth and an iron, while deeper scratches or holes might require wood filler. Apply the filler, let it dry completely, and then sand it flush with the surrounding wood. If your coffee table has an existing finish that is peeling, chipped, or severely damaged, you'll need to strip it entirely using a chemical stripper or by sanding it down to bare wood. This is a crucial step if you want to completely refinish a wood coffee table rather than just rejuvenating it.
The Art of Sanding
Sanding is perhaps the most critical step in preparing your coffee table for a new finish. It creates a smooth, even surface that allows stains and topcoats to adhere properly and look their best. Always sand with the grain of the wood to avoid unsightly swirl marks or scratches. Begin with a coarser grit sandpaper (like 80 or 100) if you're removing an old finish or addressing significant imperfections. Progress through successively finer grits—120, 150, 180, and finally 220. My personal rule of thumb is never to skip more than one grit at a time, as this can leave deeper scratches that coarser grits created, which finer grits won't entirely remove. After each sanding stage, meticulously wipe away all dust with a tack cloth or a vacuum cleaner with a brush attachment. Dust particles left behind will show up in your finish, so be thorough.
Pre-Stain Conditioner (A Game Changer)
If you plan to stain your wood coffee table, especially if it's made from a softwood like pine, maple, or birch, applying a pre-stain wood conditioner is a non-negotiable step. These woods have varying densities that can absorb stain unevenly, leading to a blotchy appearance. A pre-stain conditioner helps to equalize the wood's porosity, ensuring a more even and consistent stain application. Apply the conditioner generously with a brush or cloth, following the manufacturer's instructions for wait time (typically 5-15 minutes), and then wipe off any excess before applying your stain. This simple step can dramatically improve the final look of your stained wood coffee table.
Staining for Color and Depth (Optional)
Staining adds color and enhances the natural grain of your wood coffee table. Before you begin, always test your chosen stain on an inconspicuous area or a scrap piece of the same wood to ensure you like the color. Apply the stain with a brush or a clean rag, working in small sections and always with the grain. Allow the stain to penetrate for a few minutes (the longer it sits, the darker the color), then wipe off the excess thoroughly with a clean rag. For a deeper color, apply a second coat after the first has dried according to the manufacturer's instructions. Remember, it's easier to add more stain than to remove it, so start light. Ensure good ventilation while staining.
Applying Your Protective Topcoat
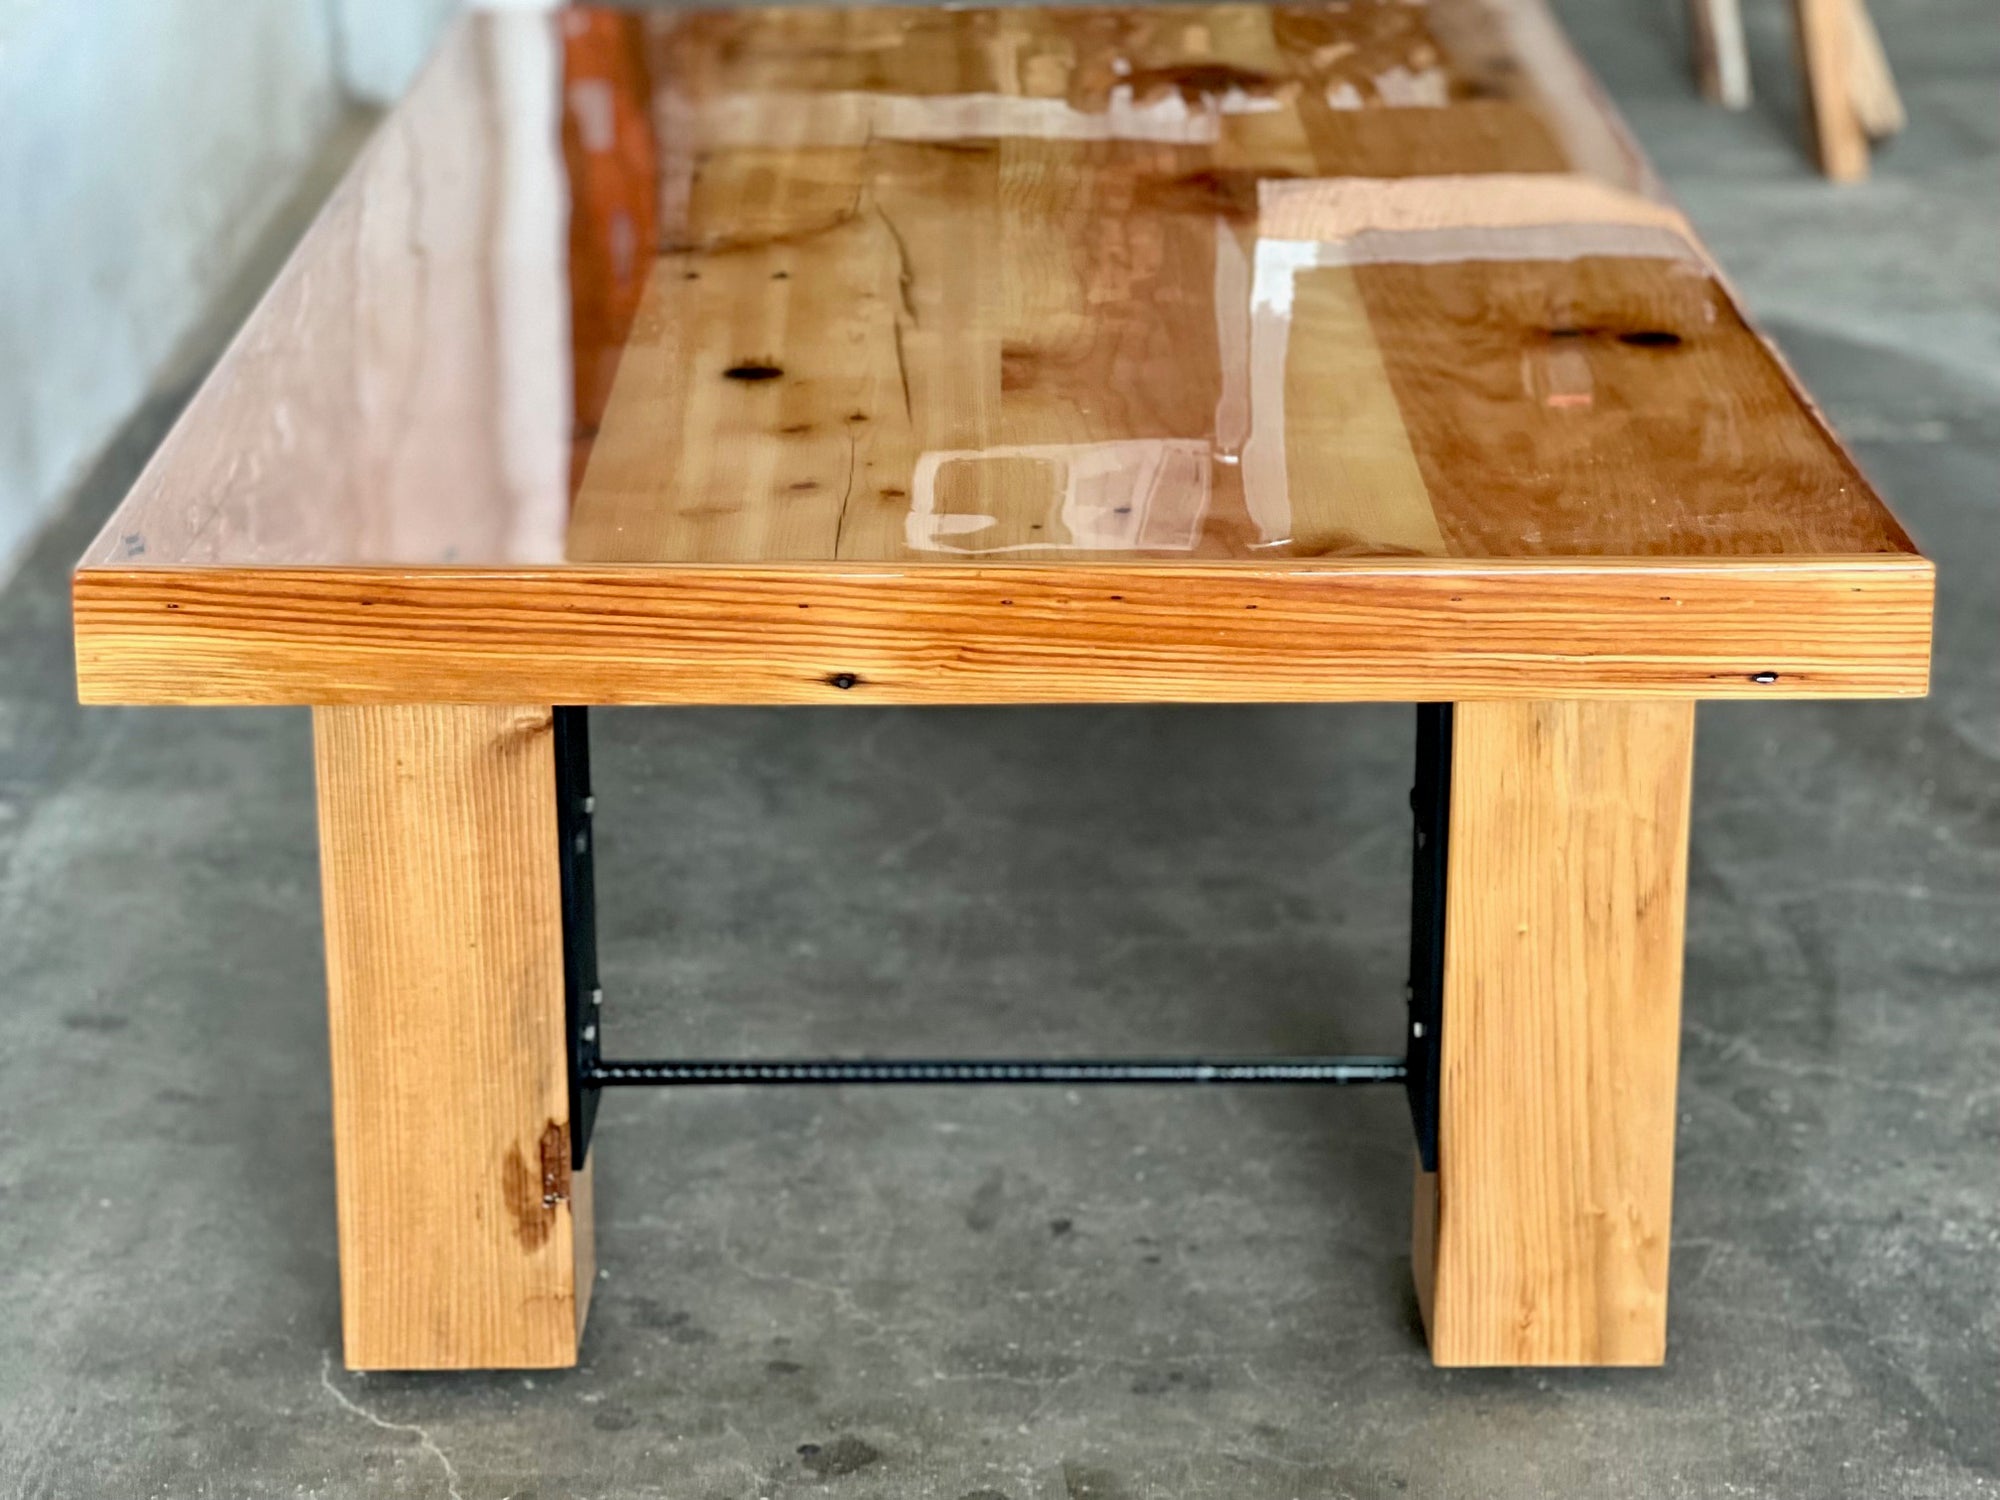
This is the final barrier that protects your beautiful wood coffee table and seals in its aesthetic. Choosing the right topcoat depends on the level of durability needed and the look you desire. Polyurethane (oil-based for maximum durability, water-based for faster drying) is a popular choice for coffee tables due to its resistance to moisture and abrasion. Apply your chosen topcoat in thin, even coats using a high-quality brush or foam applicator. Avoid applying too thickly, as this can lead to drips, bubbles, and uneven drying.
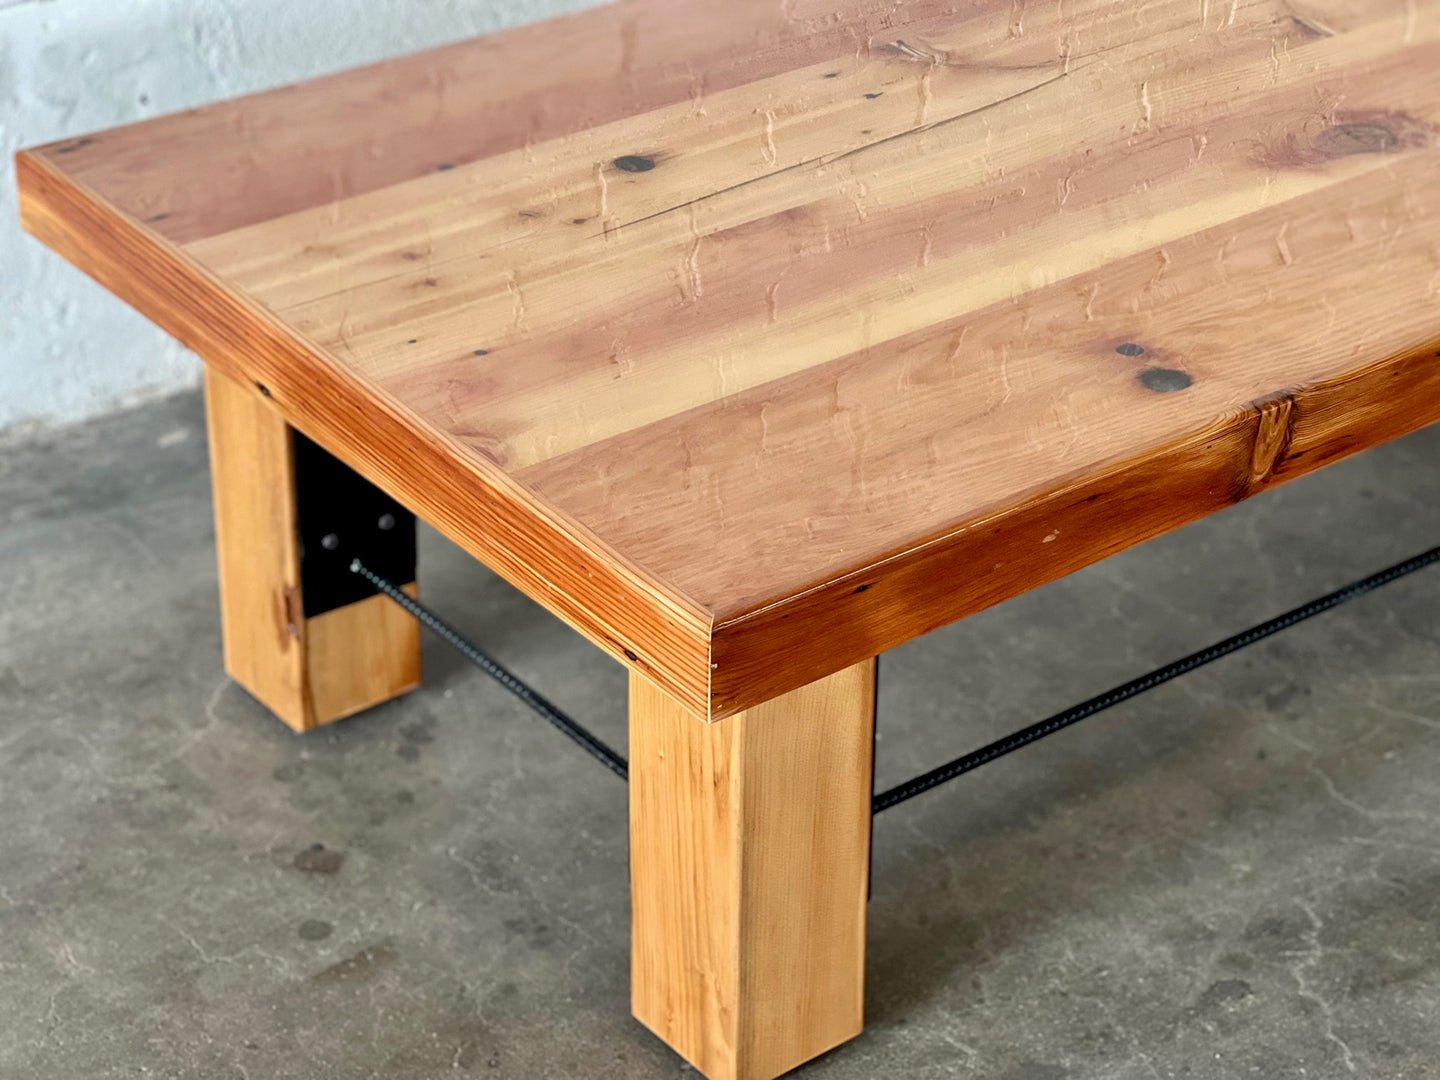
After the first coat has dried completely (check manufacturer's instructions, usually several hours), lightly sand the entire surface with a very fine grit sandpaper (320-400 grit). This "scuff sanding" removes any dust nibs and creates a microscopic texture for the next coat to adhere to, ensuring a smooth, durable finish. Wipe off all sanding dust with a tack cloth before applying subsequent coats. Aim for at least 2-4 coats for optimal protection, allowing adequate drying time between each. The final step is crucial: let the finished wood coffee table cure fully for several days, or even a week, before heavy use. While it may feel dry to the touch, the finish needs time to harden completely.
Common Finishing Mistakes to Avoid
Even seasoned DIYers can make mistakes when learning how to finish a wood coffee table. Being aware of common pitfalls can save you time, frustration, and ensure a better outcome for your project.
One of the most frequent errors is skipping proper sanding or not progressing through grits correctly. This results in visible scratch marks under the finish, ruining the smooth appearance you worked so hard for. Another common misstep is not cleaning thoroughly between steps. Any dust, lint, or debris left on the surface will become permanently embedded in your stain or topcoat, creating an unsightly texture. I’ve personally learned this the hard way, having to re-sand a piece because of stubborn dust specs.
Many people also tend to apply too much stain or topcoat at once. This can lead to blotchiness with stain, and with topcoats, it can cause drips, runs, and a cloudy appearance due to uneven drying. Ignoring drying and curing times is another significant mistake; rushing the process means your finish hasn't fully hardened, leaving it vulnerable to damage and making it less durable in the long run. Finally, not testing products on scrap wood before applying them to your actual coffee table can lead to unexpected color or finish results, which can be heartbreaking after all that effort. Always work in a well-ventilated area to avoid inhaling fumes, which is often overlooked.

Maintaining Your Newly Finished Coffee Table
Once you've poured your effort into learning how to finish a wood coffee table and completed the project, ongoing maintenance is essential to keep it looking pristine for years to come. Proper care will protect your beautiful finish from daily wear and tear.
Always use coasters under drinks and placemats under hot dishes to prevent rings, heat damage, and scratches. Wipe up spills immediately with a soft, slightly damp cloth to avoid water spots or moisture damage that can penetrate even the toughest finishes. When cleaning, avoid harsh chemical cleaners, abrasive scrubbers, or silicone-based polishes, as these can strip or dull your finish over time. Instead, opt for a mild, pH-neutral wood cleaner or simply a damp cloth followed by a dry one. Periodically, you might want to re-apply a thin coat of paste wax (for wax finishes) or a very light, diluted application of your original topcoat (for film finishes like polyurethane) if you notice the finish losing its luster in high-traffic areas. This proactive approach ensures your coffee table remains a stunning focal point in your home.
Frequently Asked Questions of How to Finish a Wood Coffee Table
How long does it take to finish a wood coffee table?
The total time can vary significantly, usually ranging from 2-5 days when factoring in drying and curing times for stains and multiple coats of finish. Actual working time might only be several hours, but patience with drying is key.
What is the best finish for a coffee table?
For a coffee table, a durable, water-resistant finish is ideal. Oil-based polyurethane is often recommended due to its excellent protection against spills, scratches, and heat, offering a warm, rich look.
Do I need to strip the old finish before applying a new one?
Yes, if the old finish is chipped, peeling, or severely damaged, it's best to strip it completely down to bare wood for the best results. If the old finish is in good condition, you might be able to lightly sand and apply a new topcoat over it, but ensure compatibility.
How do I prevent blotchiness when staining?
To prevent blotchiness, especially on soft or porous woods, always apply a pre-stain wood conditioner before staining. This helps the wood absorb the stain more evenly, resulting in a consistent color.
Can I use spray polyurethane on my coffee table?
Yes, spray polyurethane can be a great option for achieving a smooth, even finish with minimal brush marks, especially on intricate or detailed areas. Apply multiple thin coats, allowing proper drying time between each.
Conclusion
Embarking on the journey of how to finish a wood coffee table is a truly rewarding endeavor that brings both functional protection and aesthetic beauty to your home. By diligently following the steps from preparation and sanding to staining and topcoat application, you're not just applying a finish; you're infusing your personality and craftsmanship into a piece of furniture that will be cherished for years. The effort you put into meticulously preparing and finishing your table will shine through in its enduring quality and appeal.
Don't be intimidated by the process; embrace the learning curve and enjoy the satisfaction of creating something beautiful with your own hands. We encourage you to pick up your tools and start transforming your coffee table today. For more woodworking tips and project ideas, be sure to explore our other guides and share your finished projects with our community!